Workflows, Best Practice guidance, Tips and Tricks to extract the best from Hammer Missions
Defining a precise 3D boundary around a building gives you a reliable reference for inspection flights, automated mission planning and safe manual flying. Once the building polygon is created you can fly around it, plan or run automated flight missions, and use that shape as the baseline for mapping or inspection tasks.
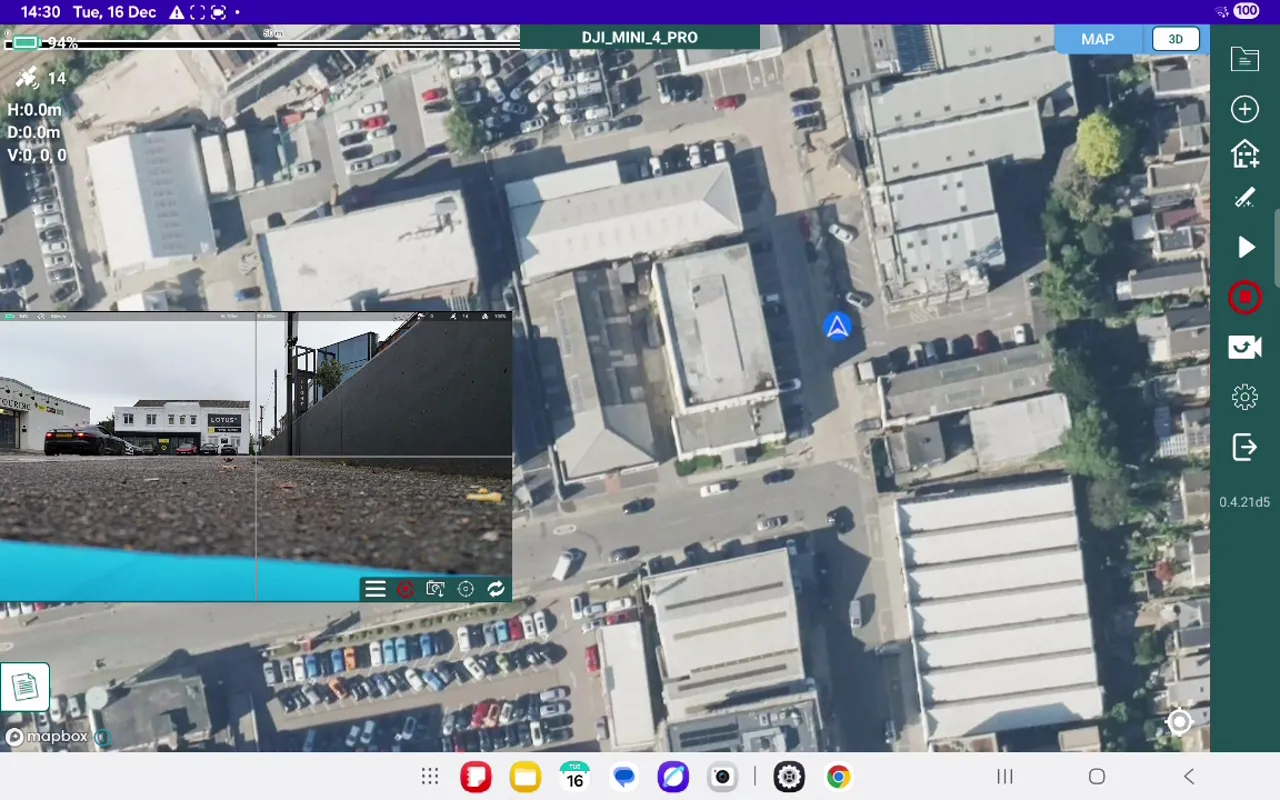
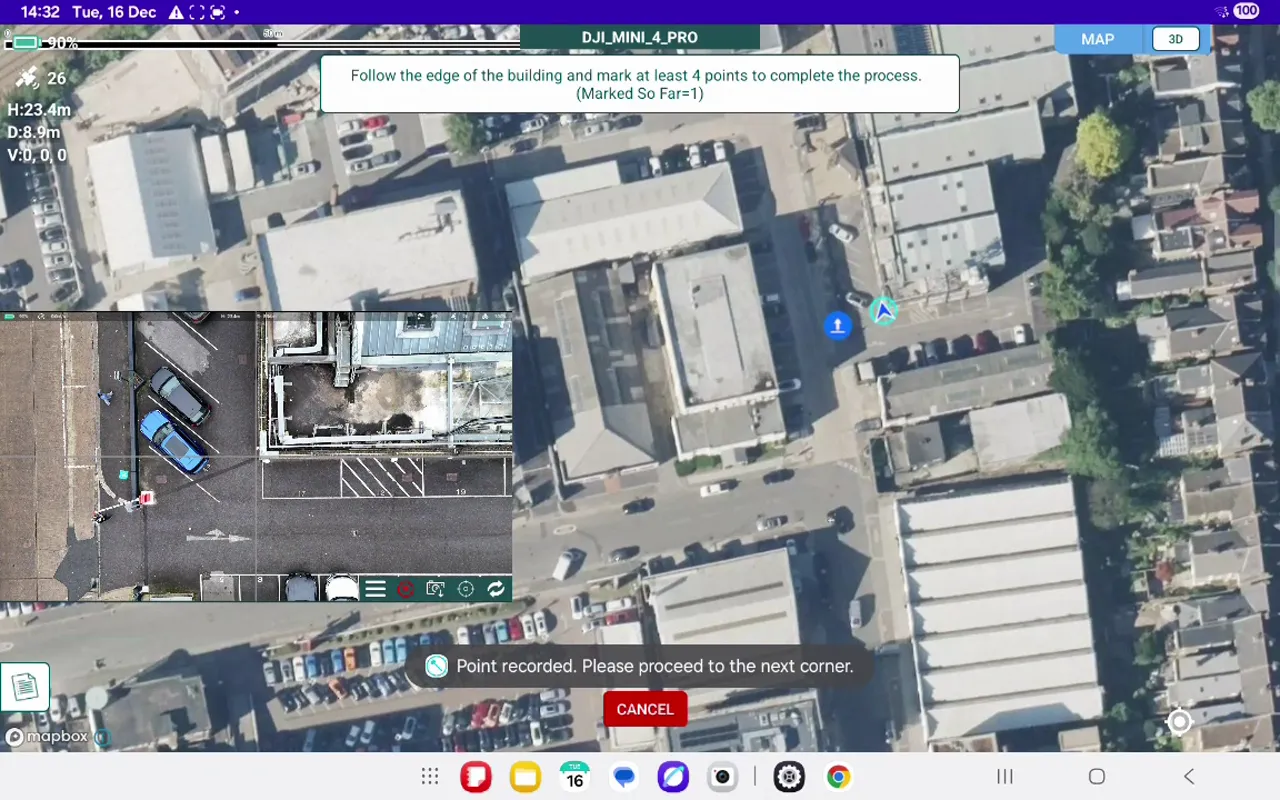
In the top right corner of the app you will see a small vertical set of icons. The third icon down is a house with a plus symbol. Tap that icon to launch the 3D building outline tool. A white dialogue box will appear at the top of the screen; this active area is what you will tap to record each corner of the building.
If your remote control has a C2 button you can use that button to mark points instead of tapping the screen. This can be faster and leaves your hands free for precise control.
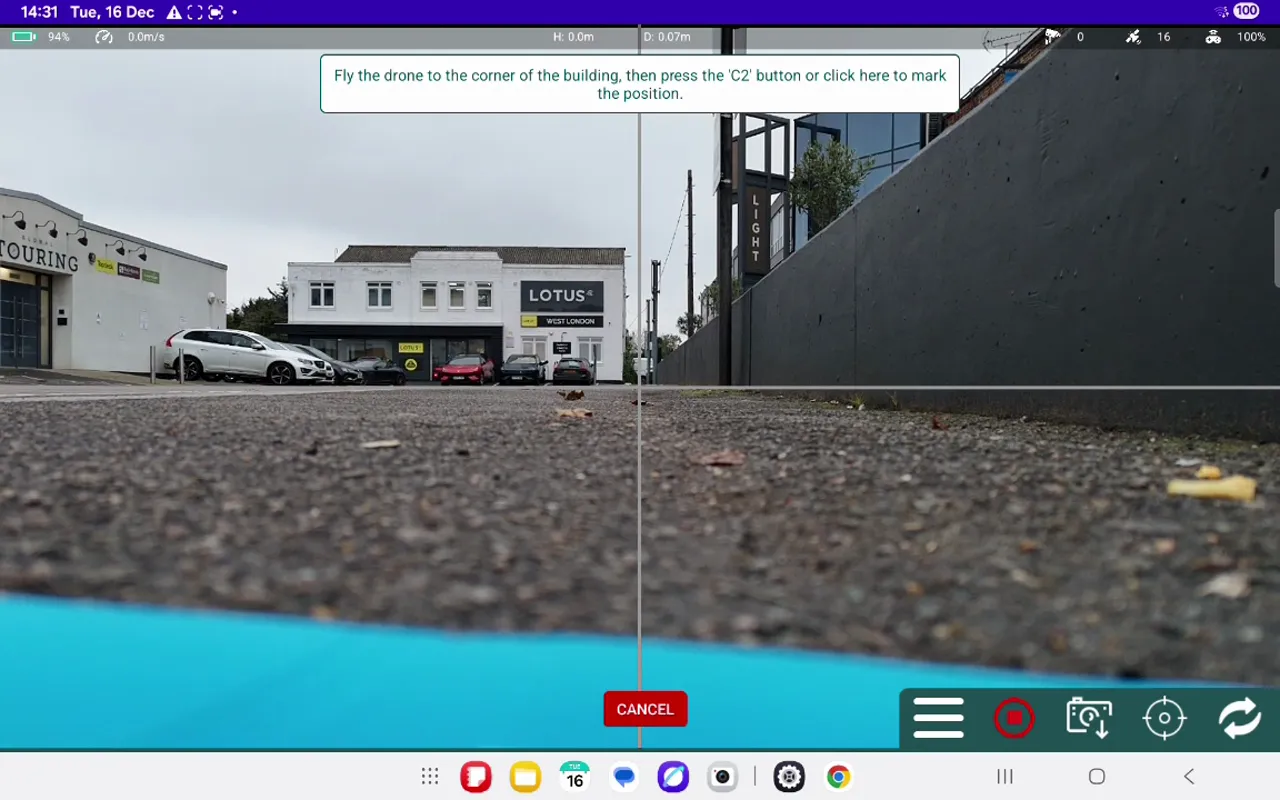
After conducting any appropriate pre-flight and site safety checks, Launch the aircraft, position the aircraft at a safe height above the building tilt the camera gimbal down to -90 degrees. Use the crosshairs in the camera feed, to line up with the exact corner point/building edge.
When the camera is tilted down and the crosshairs are over the corner, mark the point by either pressing the C2 button or tapping the white dialogue at the top of the screen. You will see a confirmation message when the point has been recorded.
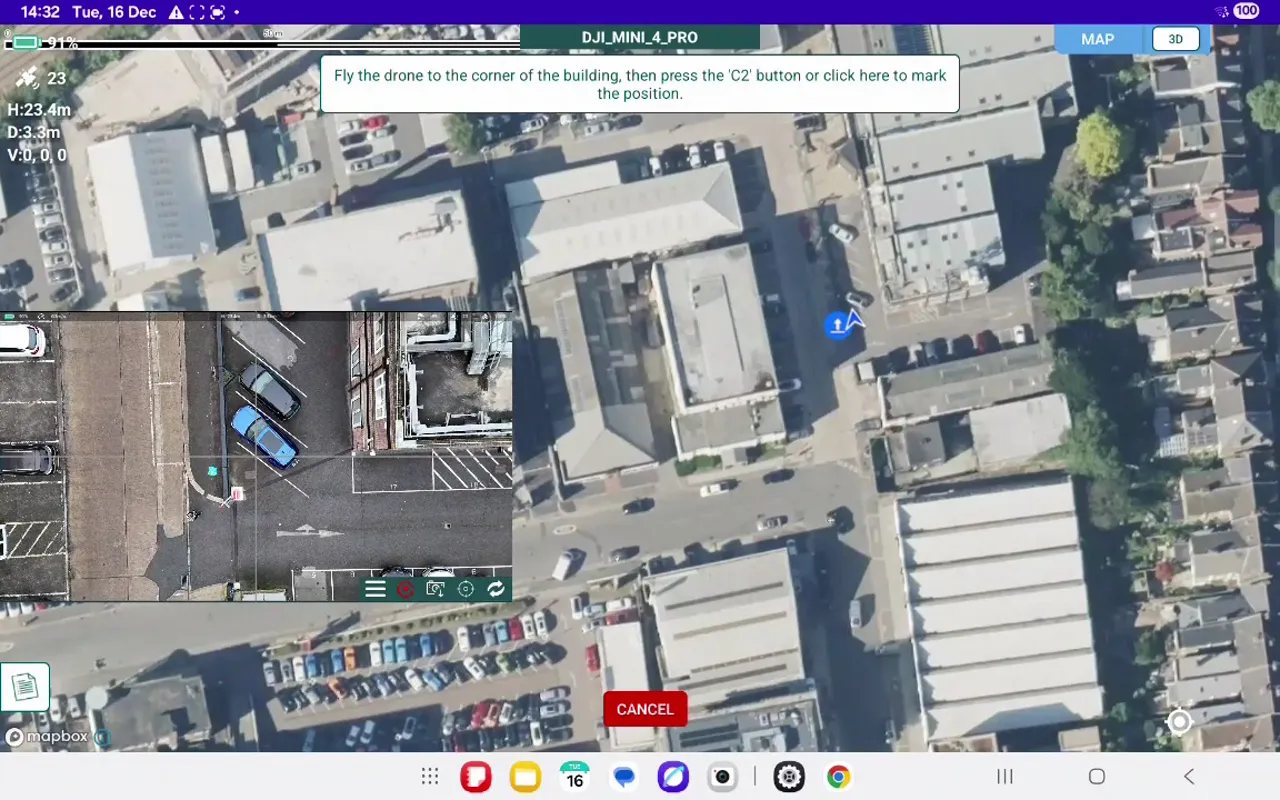
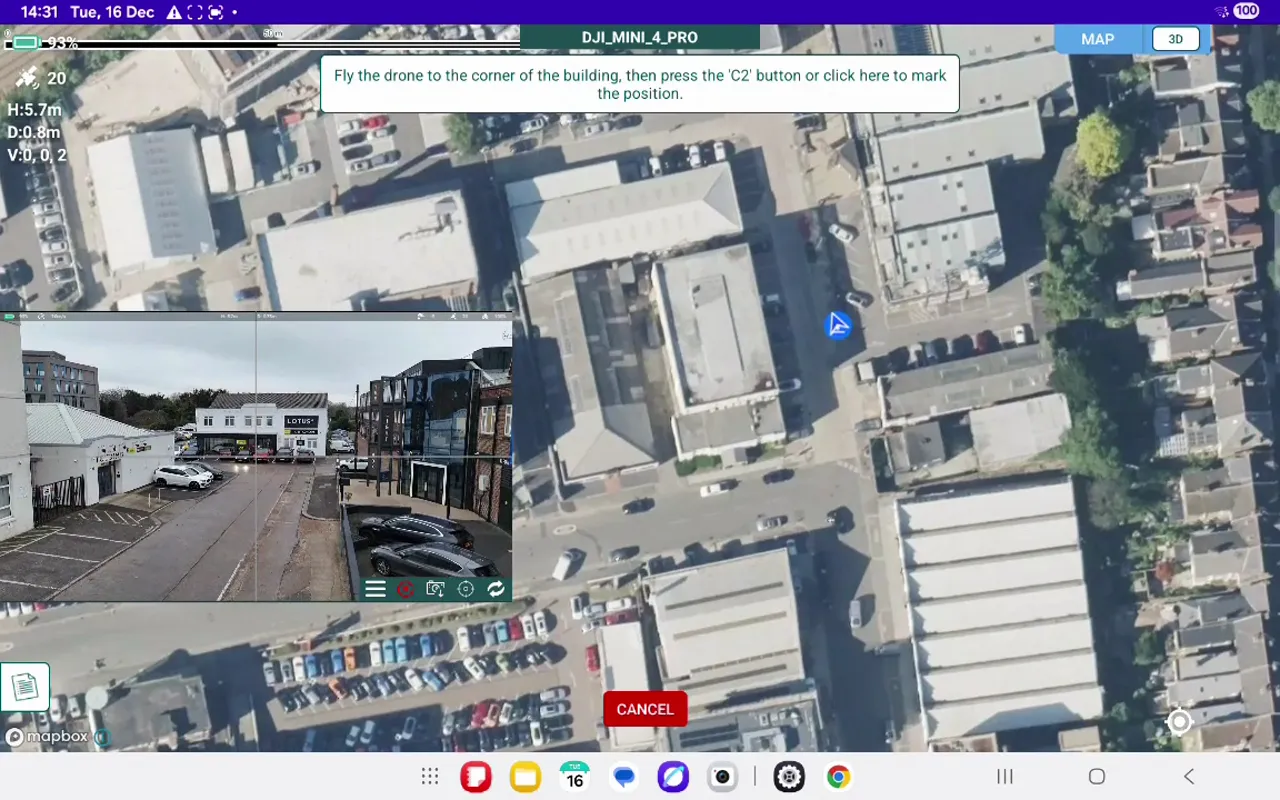
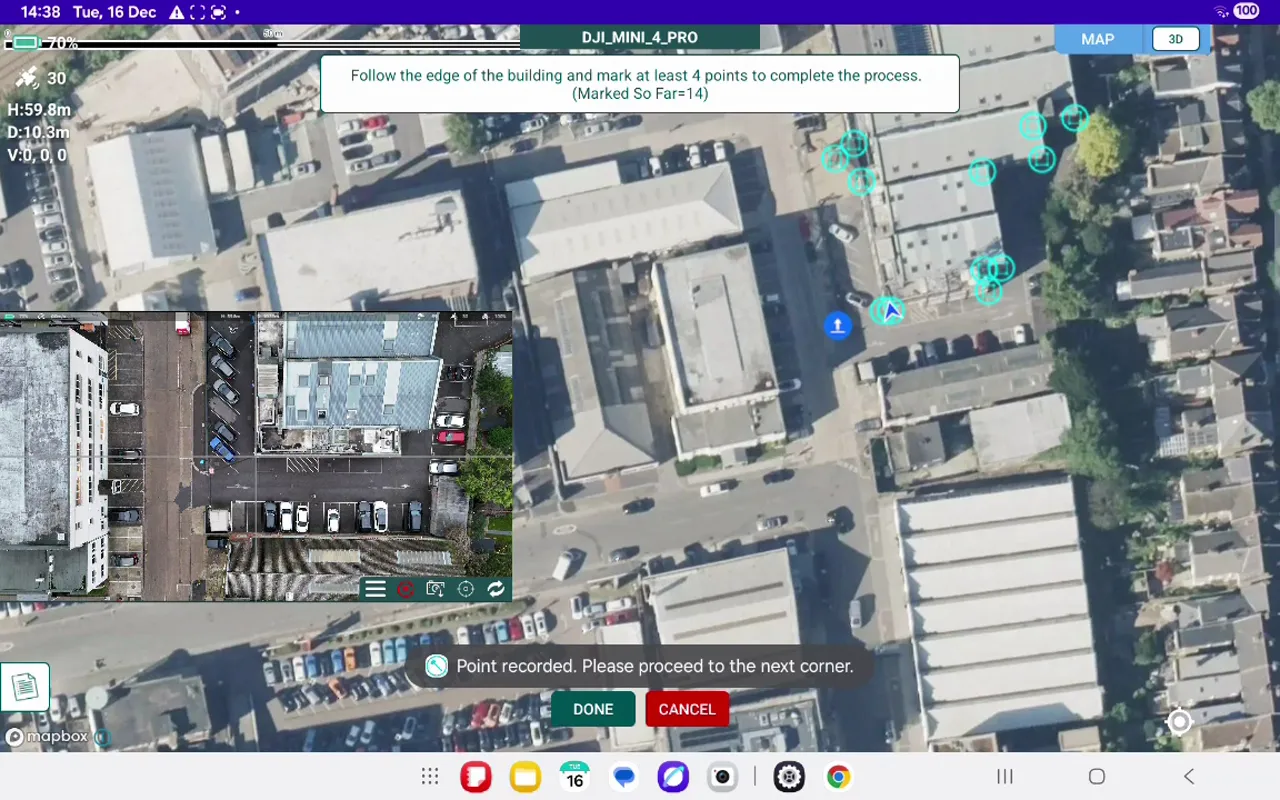
Repeat this process for each corner. Move the aircraft to the next point, re-centre the crosshairs and record the point via C2 button or the white panel. Take your time to ensure accuracy.
After recording the final point — usually returning close to your starting position — tap the green Done button at the bottom of the screen. Hammer Missions will generate the 3D building outline from the recorded points.
Creating a 3D building outline in Hammer Missions is a straightforward process: prepare the aircraft, launch the building outline tool, use crosshairs to precisely mark corners, and finalise the polygon. The resulting 3D shape becomes a powerful foundation for repeatable, accurate flight missions and safer manual flying around structures.
How to Auto-Plan a Façade Mission from a 3D Building Outline