Workflows, Best Practice guidance, Tips and Tricks to extract the best from Hammer Missions
In this guide we will walk you through how to synchronise a flight mission plan that you created on Hammer Hub down to the Hammer App on your RC controller or tablet.
This blog article follows the same step-by-step approach that we demonstrated on our video.
By the end of this guide you will know how to:
Start the Hammer Missions app on your tablet or remote controller. Tap the folder icon in the top-right to open the mission panel where the synced mission files live.
In the mission panel you'll probably see at least one flight mission file. Tap the cloud-with-arrow icon, to download the mission(s) you've created within Hammer Hub. Multiple missions may appear if you have multiple missions in the Hub and have not synchronised previously.
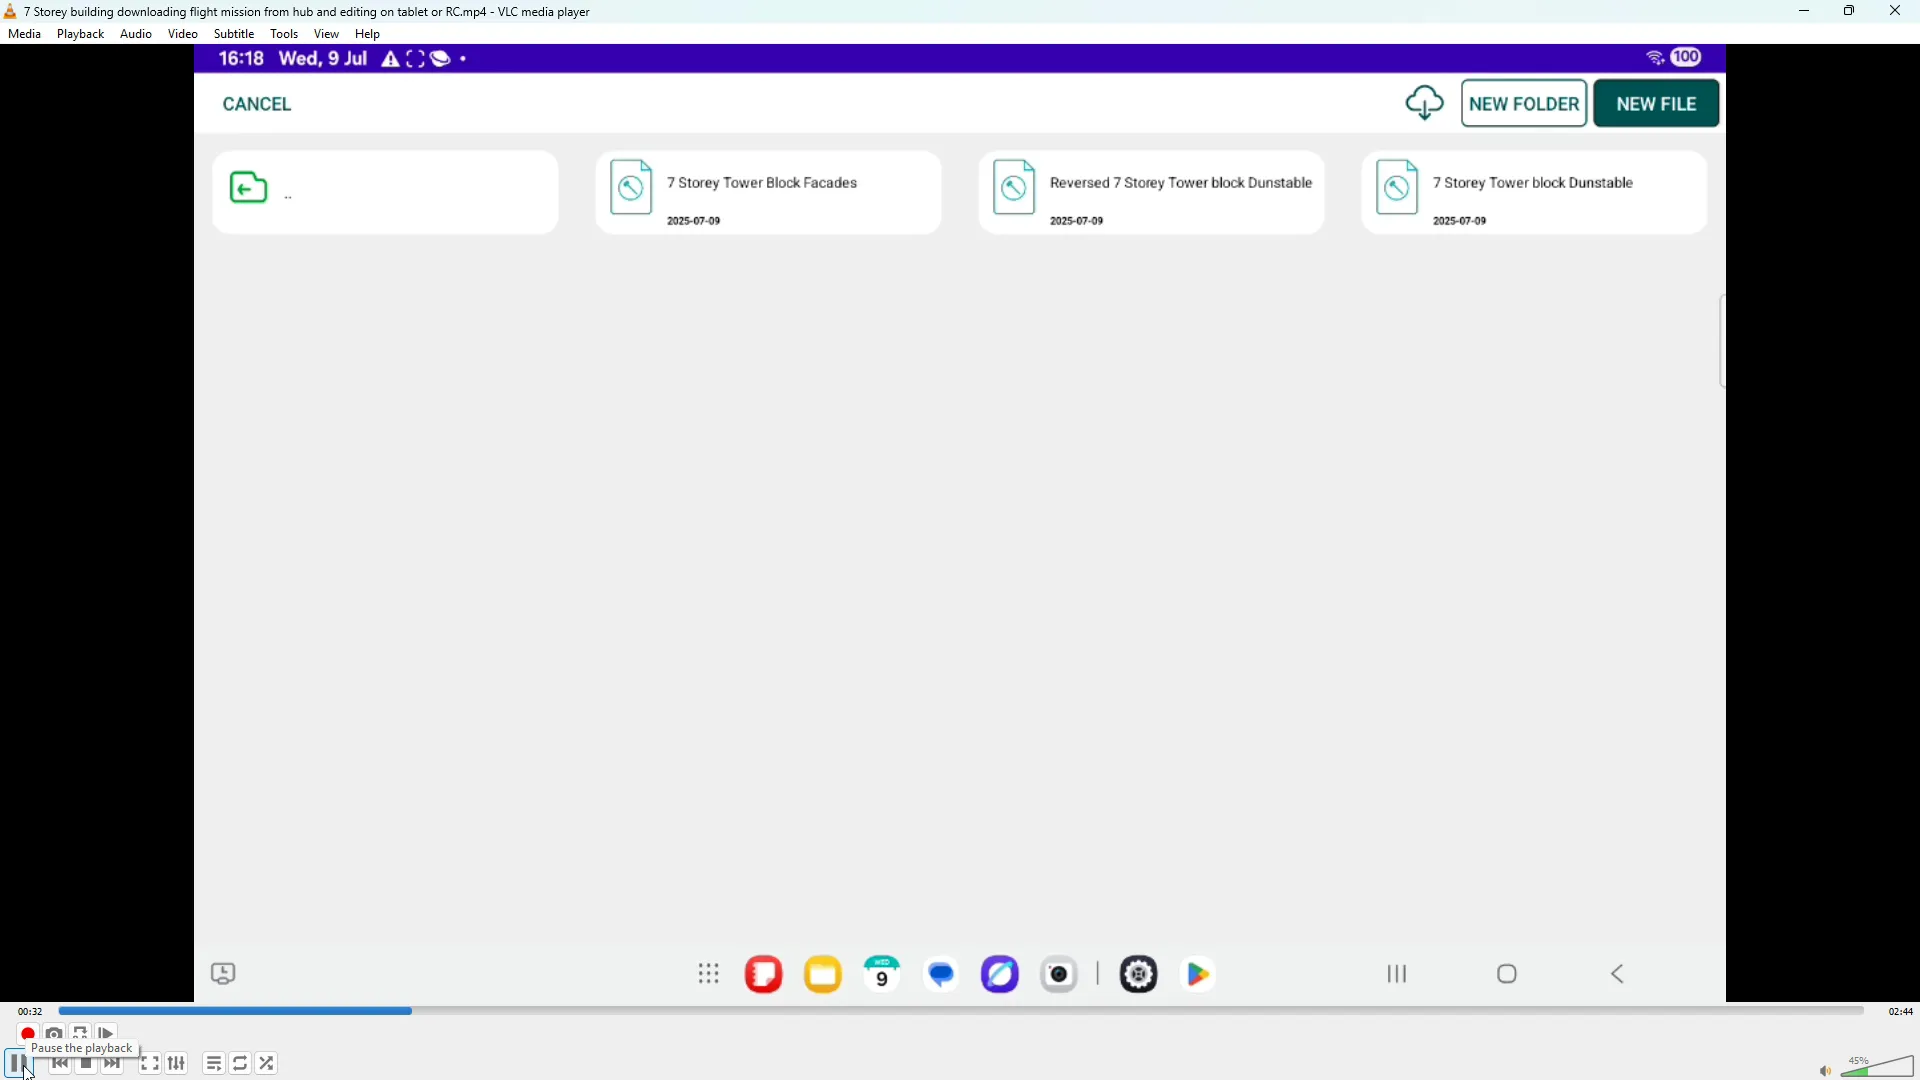
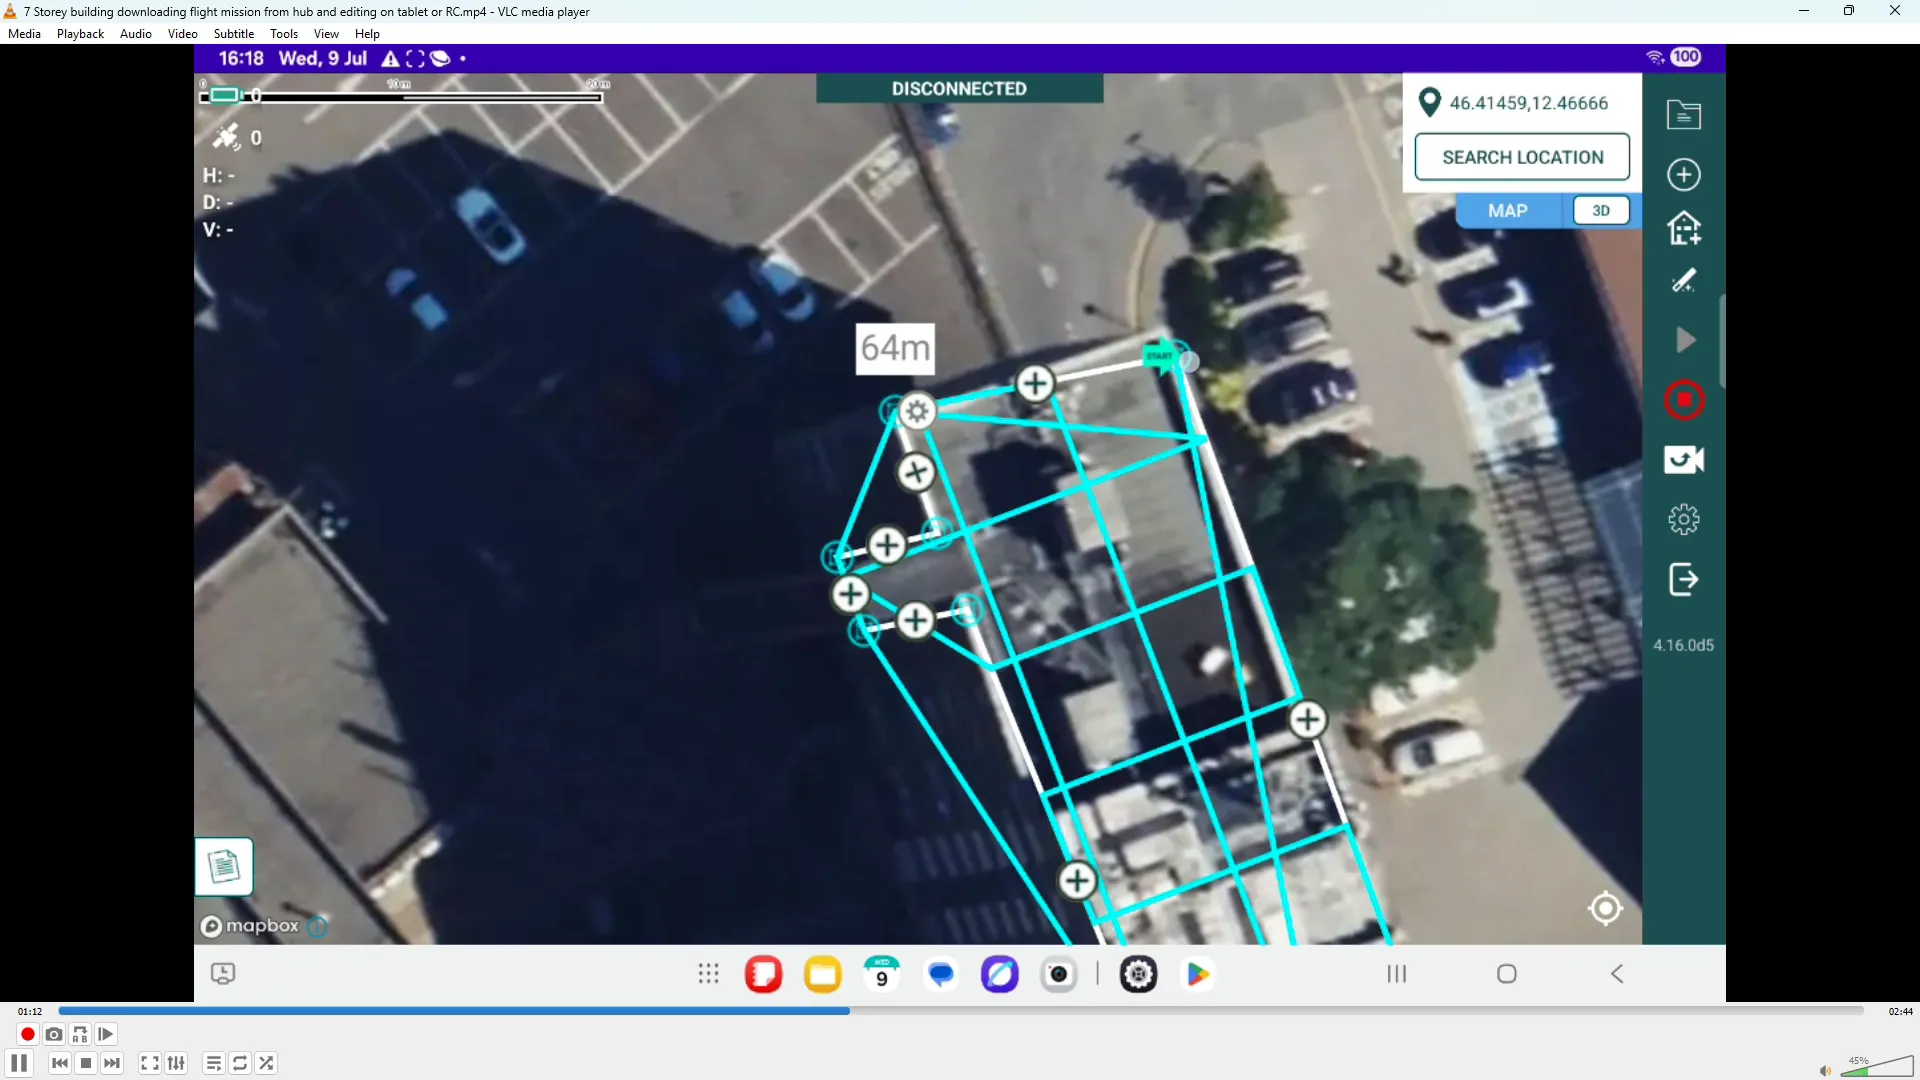
Once the download process completes, select the mission you want to open. It will appear on the map showing the mission area and flight lines over the location or building that you have chosen.
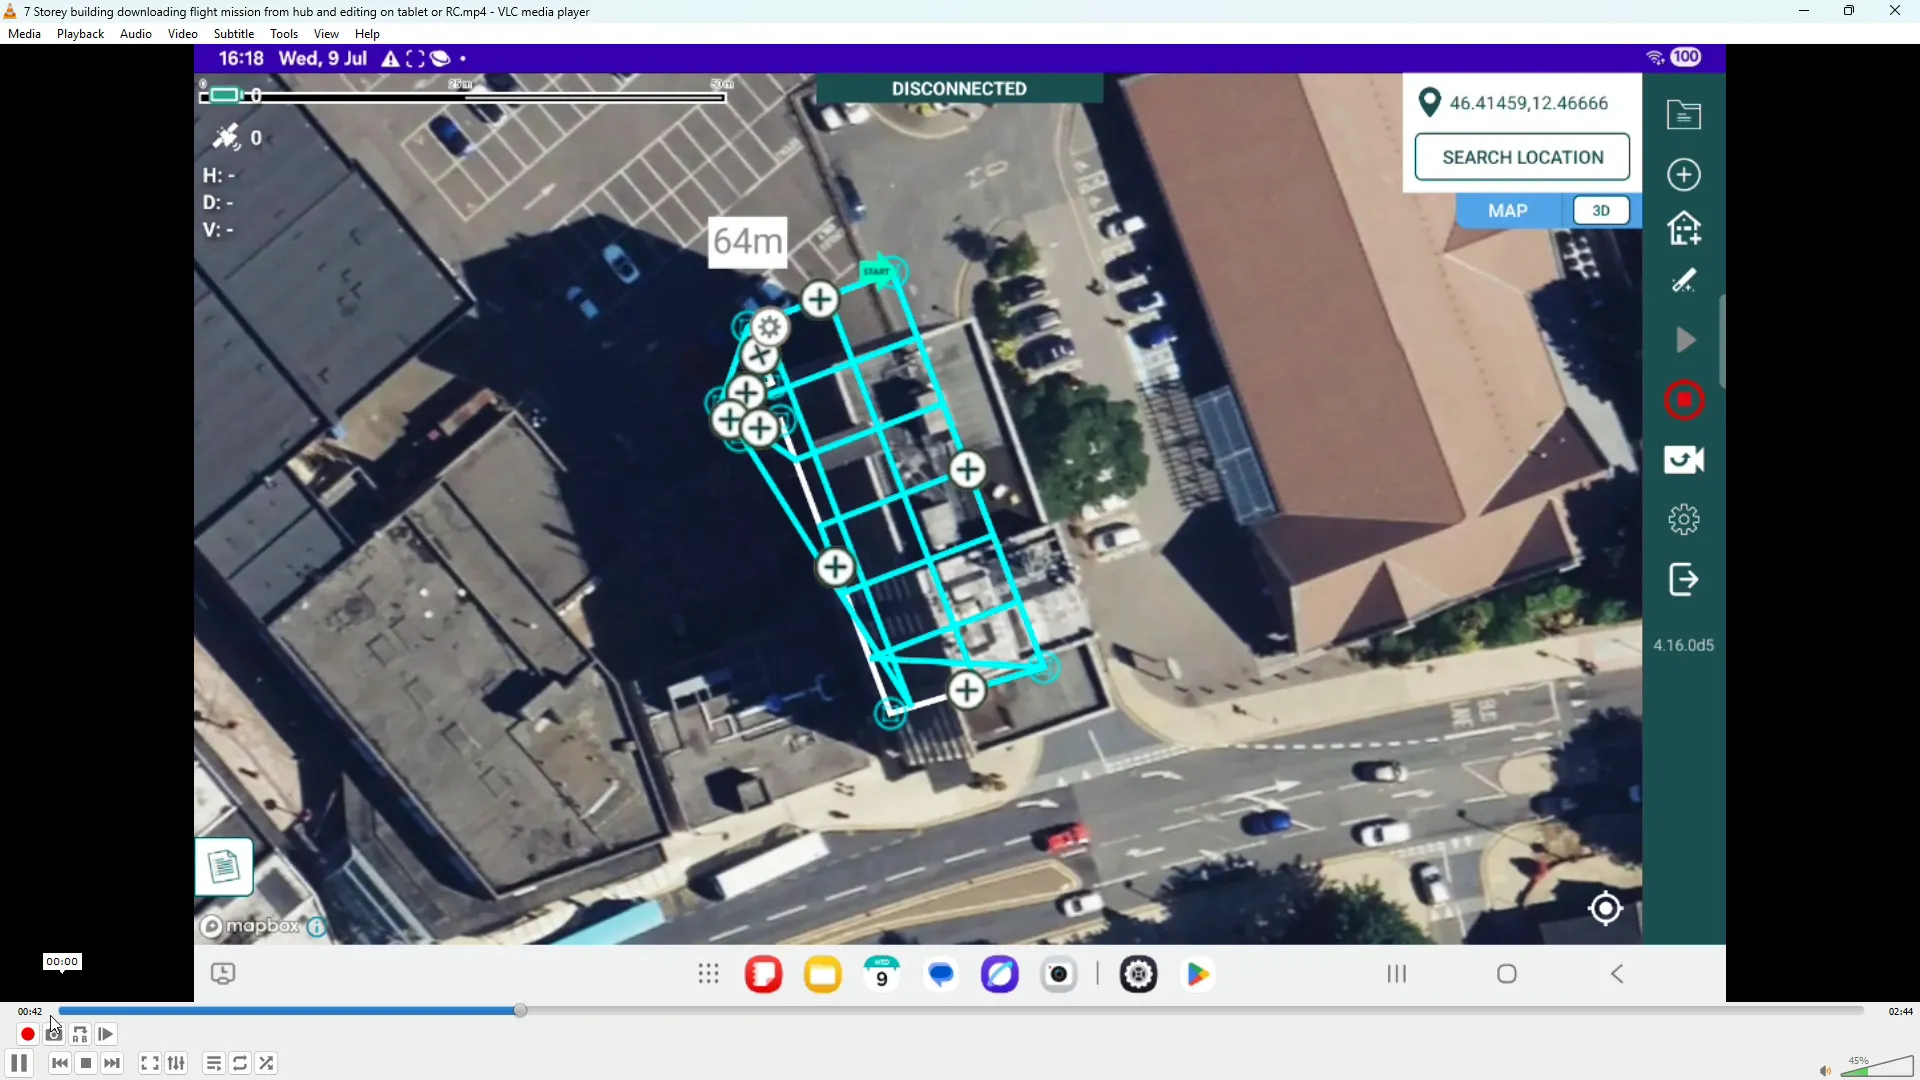
Map sources vary and sometimes the flight plan can be offset from the building you intend to capture. If you spot a discrepancy, drag the blue corner or boundary points to align the mission footprint with the actual building or facade boundaries.
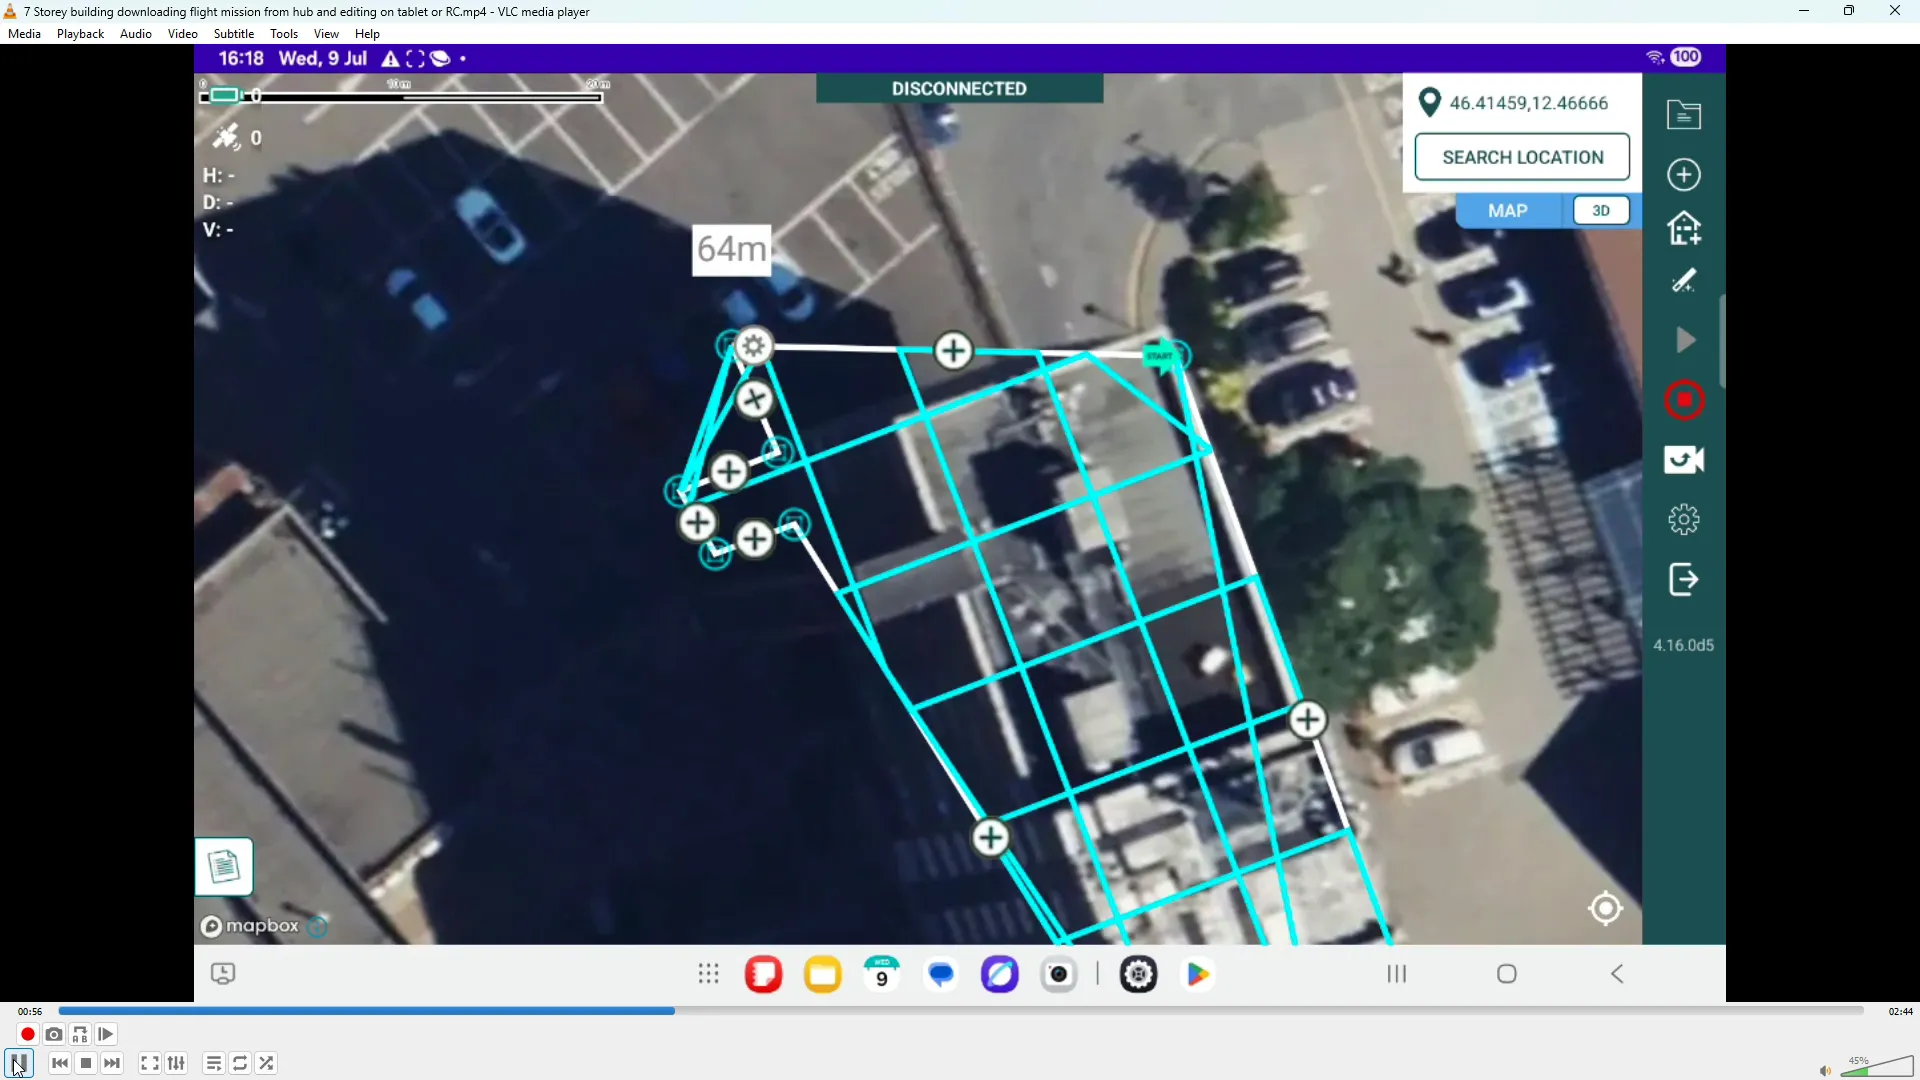
You can zoom in for fine-tuned placement of each corner point — take your time here since accurate alignment improves data quality and reduces the chance of flying over unintended areas.
With the mission aligned, ensure that the drone is powered on and click the cog icon to review the flight parameters that were initially set in Hammer Hub plus a few extra options which are only available on the RC device / tablet. This is your last chance to confirm mission-level settings before flight.
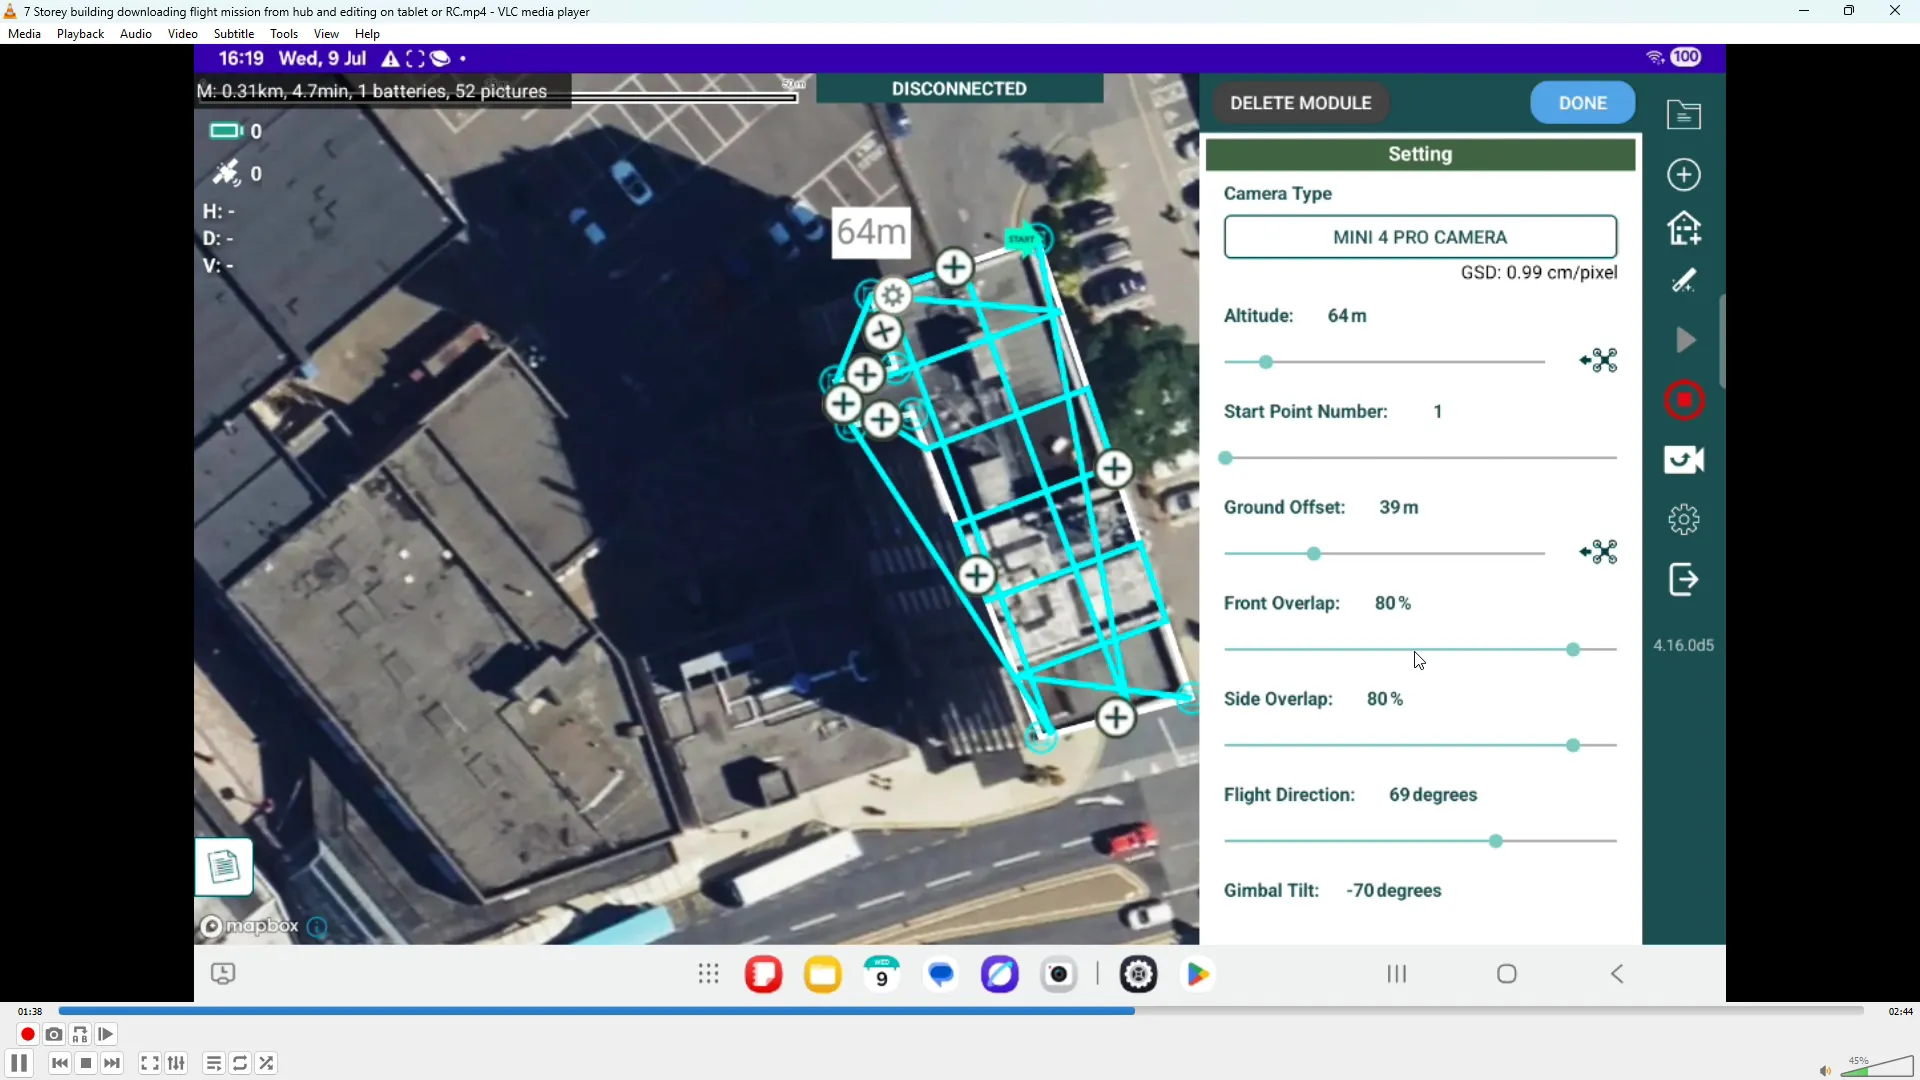
Particular parameters to check:
Tap the Drone Settings button near the bottom of the screen to access drone-specific configuration options not available in Hammer Hub. Typical settings you’ll find here include measurement units, map type, max altitude, obstacle avoidance distances and return-to-home parameters.
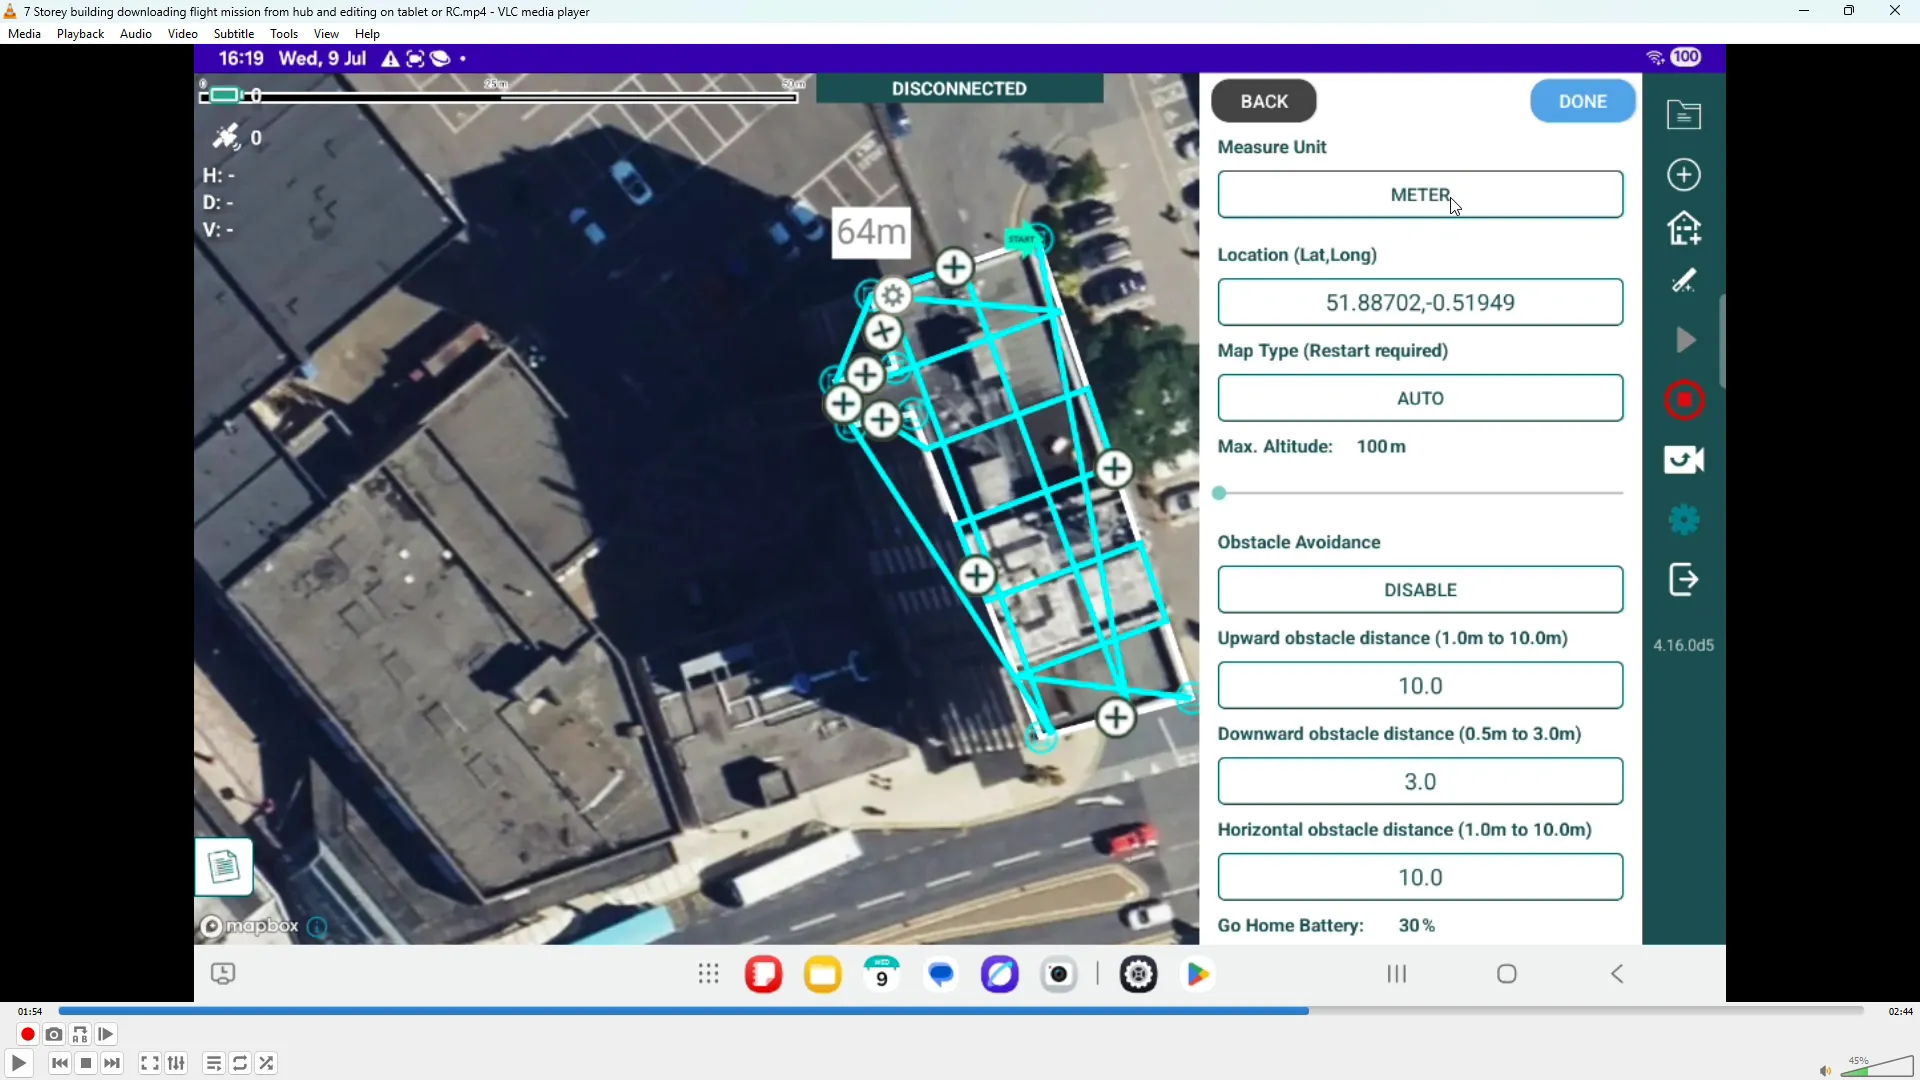
Common adjustments to make:

Synchronising a flight mission from Hammer Missions Hub to your RC controller or tablet is straightforward: download the mission, align it on the map, and confirm the mission and drone-specific settings. Taking the extra minute to check ground offset, obstacle avoidance and return-to-home settings will make your flight safer and your data more reliable.
"This process lets you prepare much of the flight mission process at your desk-based computer and then quickly sync the mission to your flight device in the field." — Hammer Missions’ Support
Installing DJI Fly App on Android