In this guide we will walk you through executing a roof-mapping flight mission using the Hammer Missions platform. We will cover what to look for on the app, how to prepare and upload a mission, what to monitor / check and options available to you during the flight.
If you prefer to watch a video on this topic use the link immediately below, otherwise skip over it to the Blog article
https://www.loom.com/share/4d0908b2037a40239d97c60d72494848?sid=154404b7-f725-49f0-ab4d-3004a913bce1
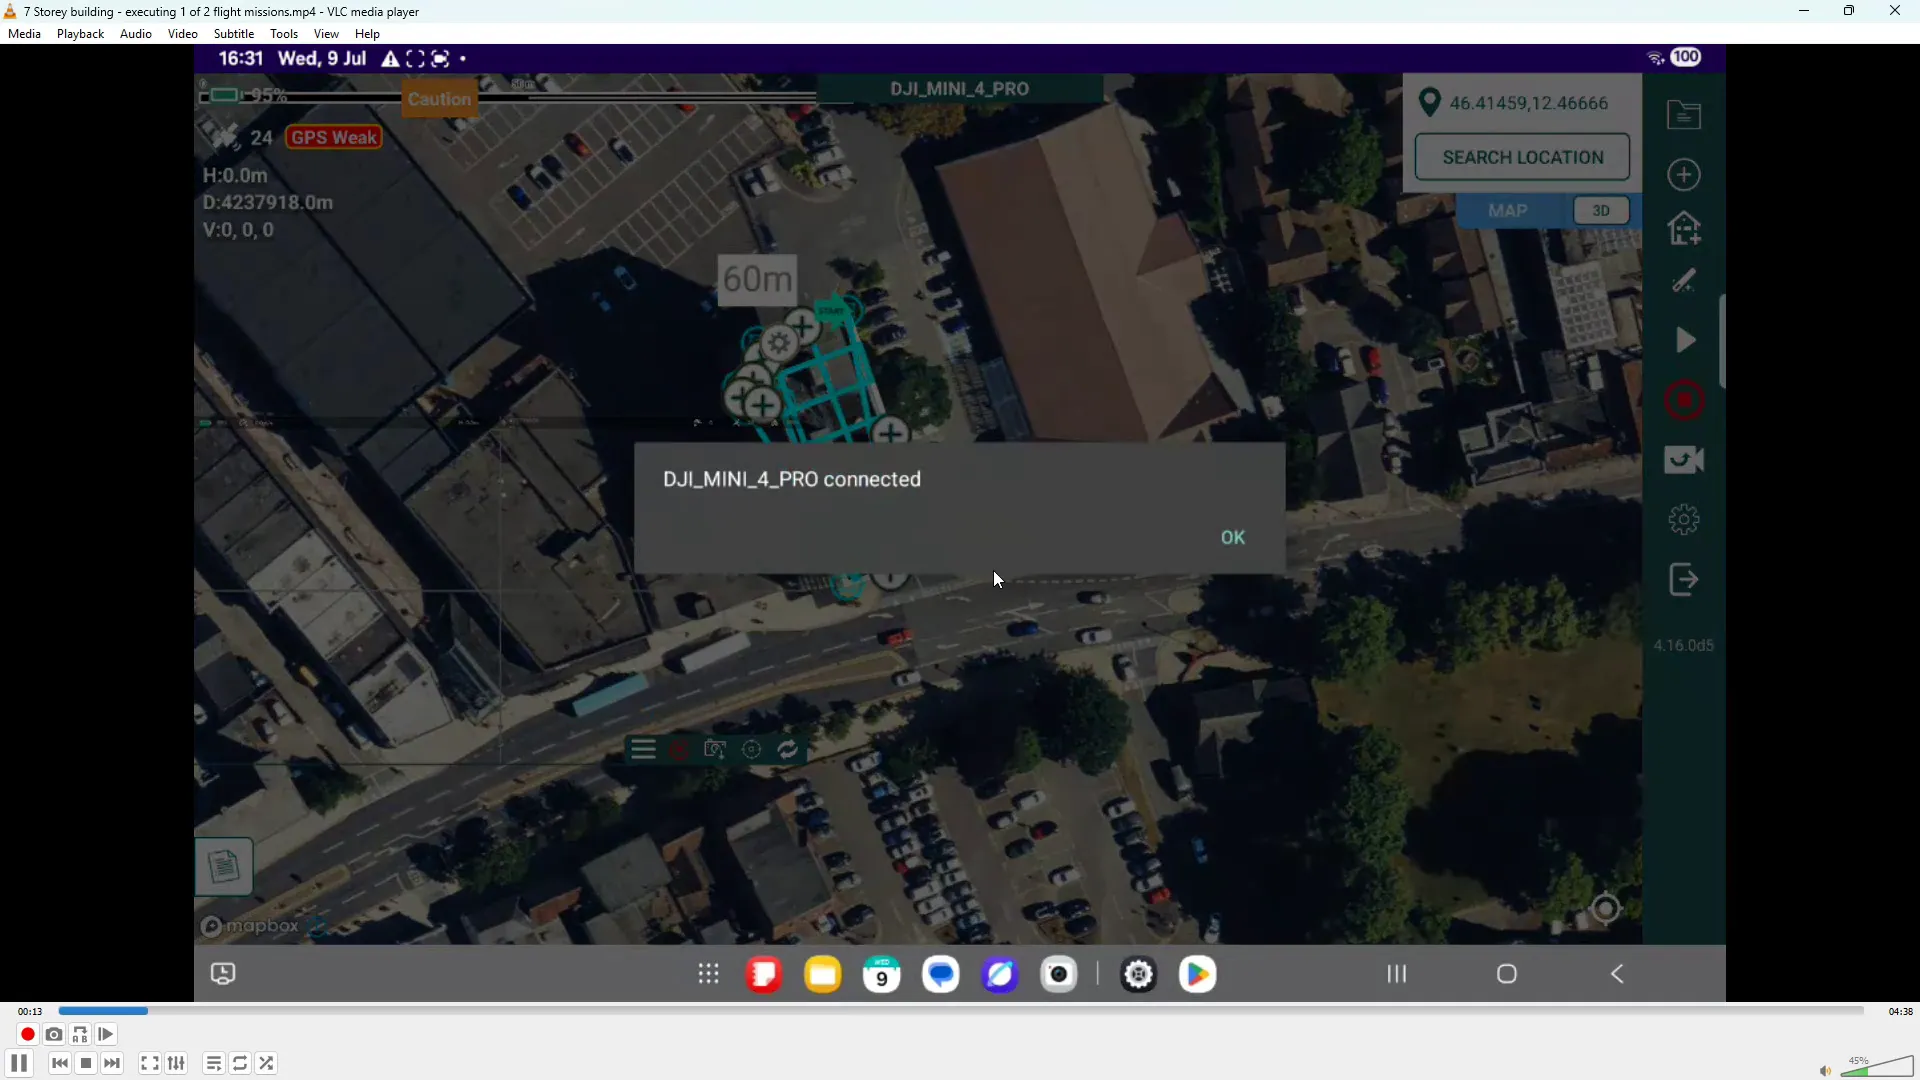
When you open the Hammer Missions app on your tablet or RC device you’ll see live telemetry information and camera feed. Key items to check are:
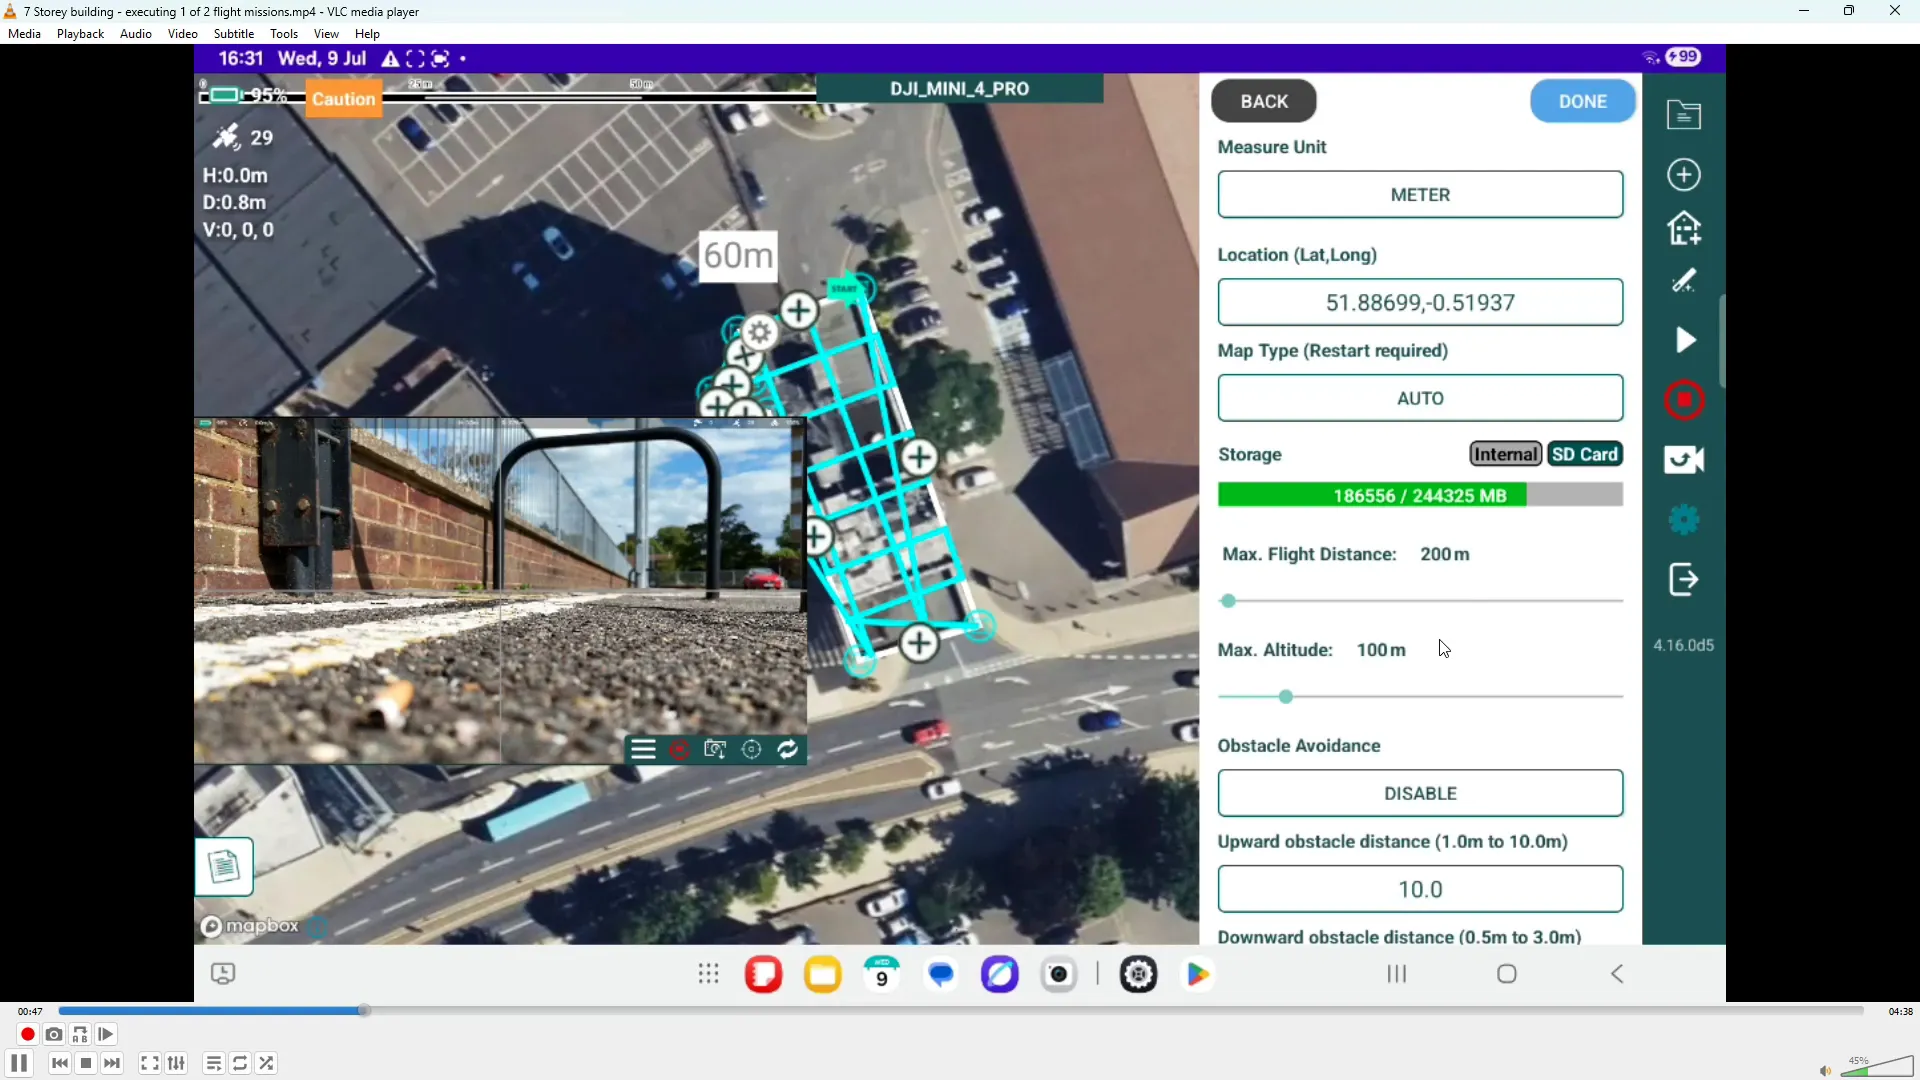
Always open the mission parameters (via the cog icon) and review/adjust the drone settings to confirm mission parameters. Typical items to verify:
We recommend that you make any changes now, rather than when the drone is in the air. When you are happy, click the blue Done icon (top right) to return to main flight screen.
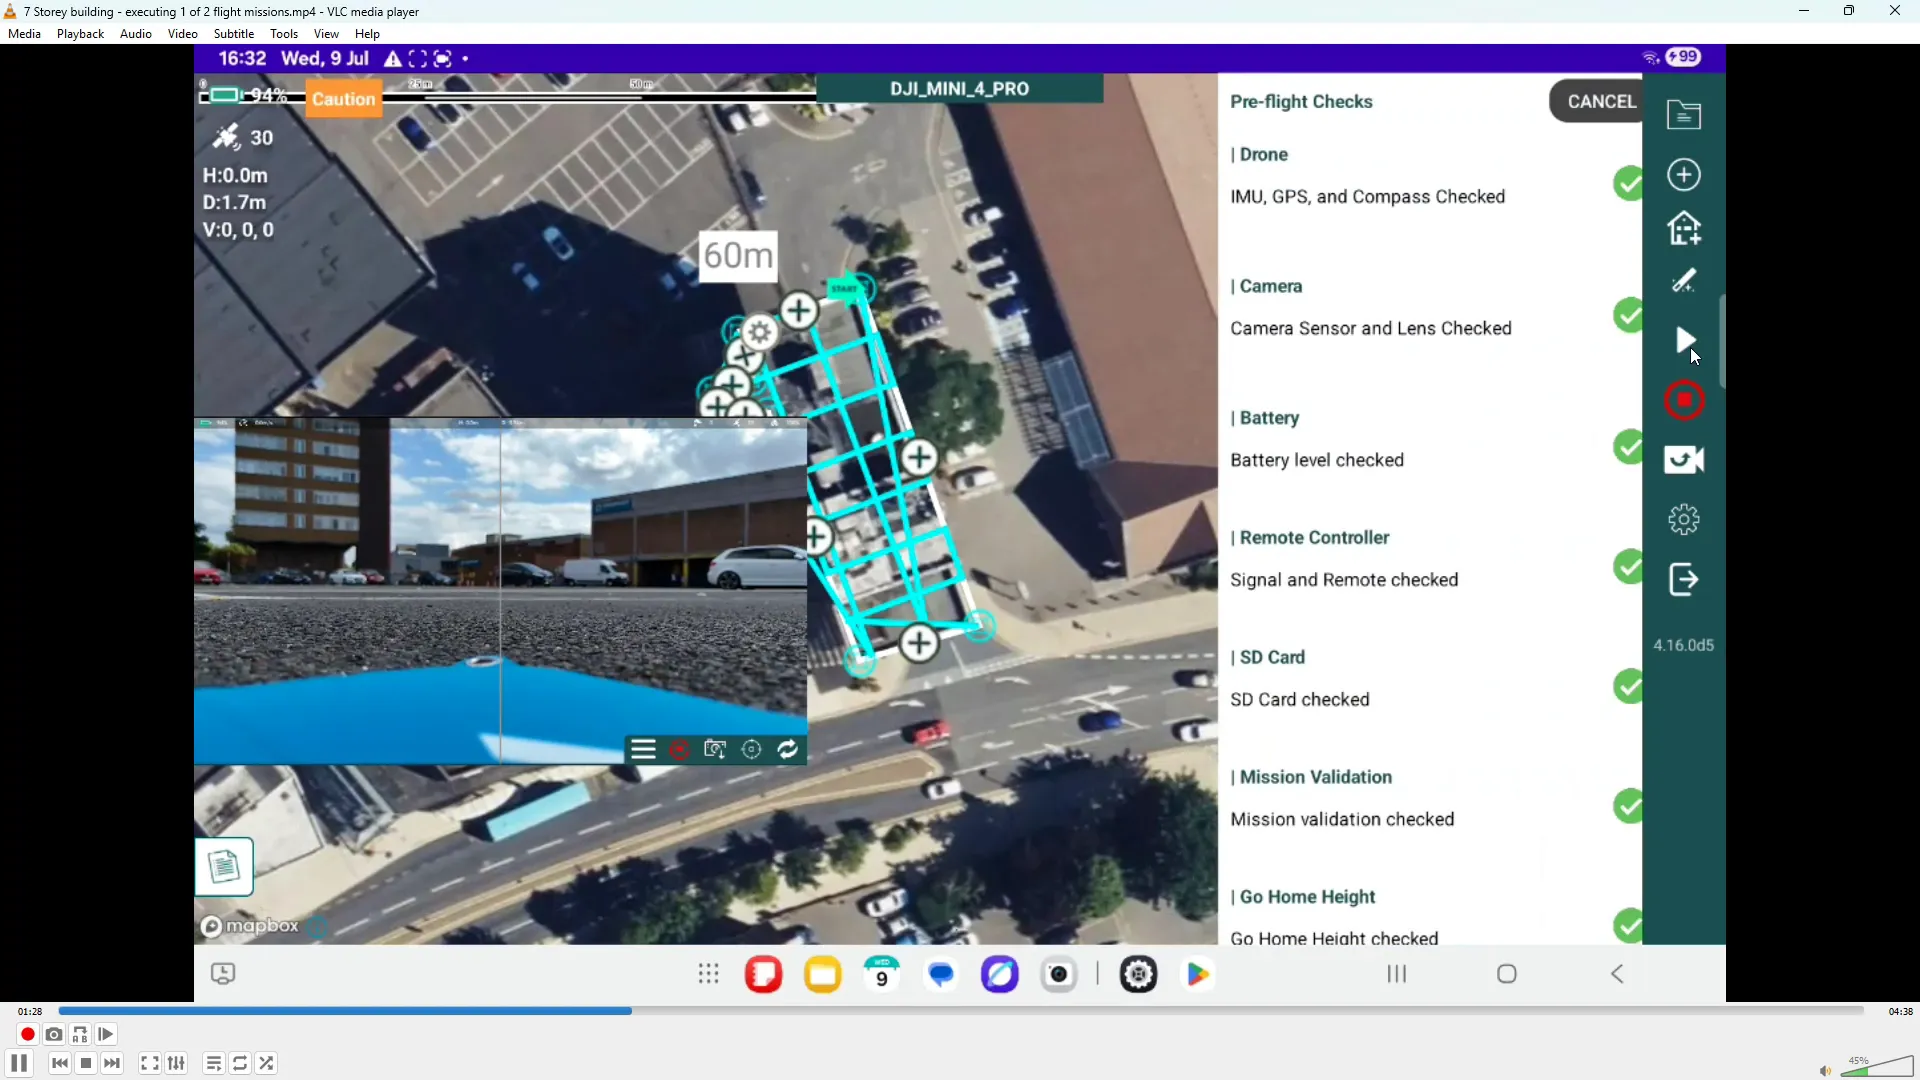
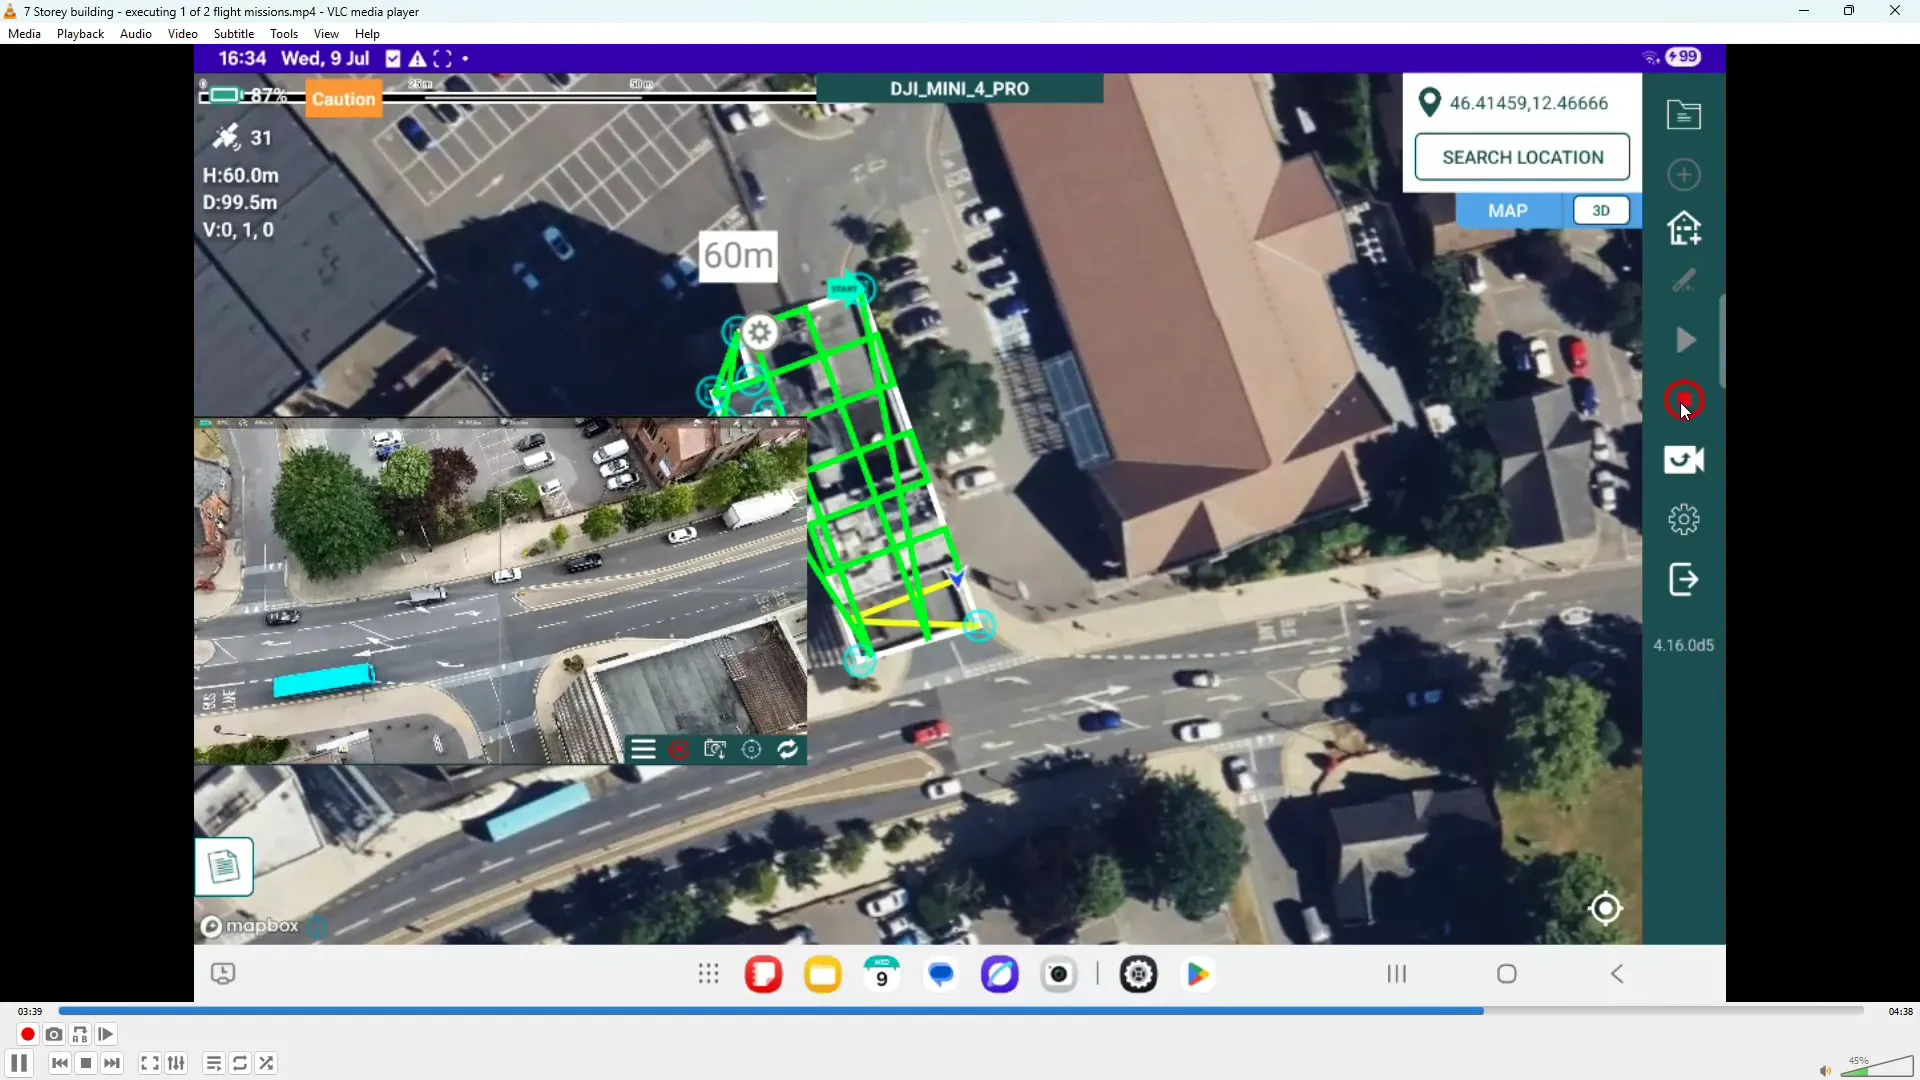
To begin, position the drone at a suitable take-off location and launch Hammer's pre-flight checks, by using the white triangle in the right side green panel. The system will run checks to ensure GPS lock, battery health and other critical parameters are OK.
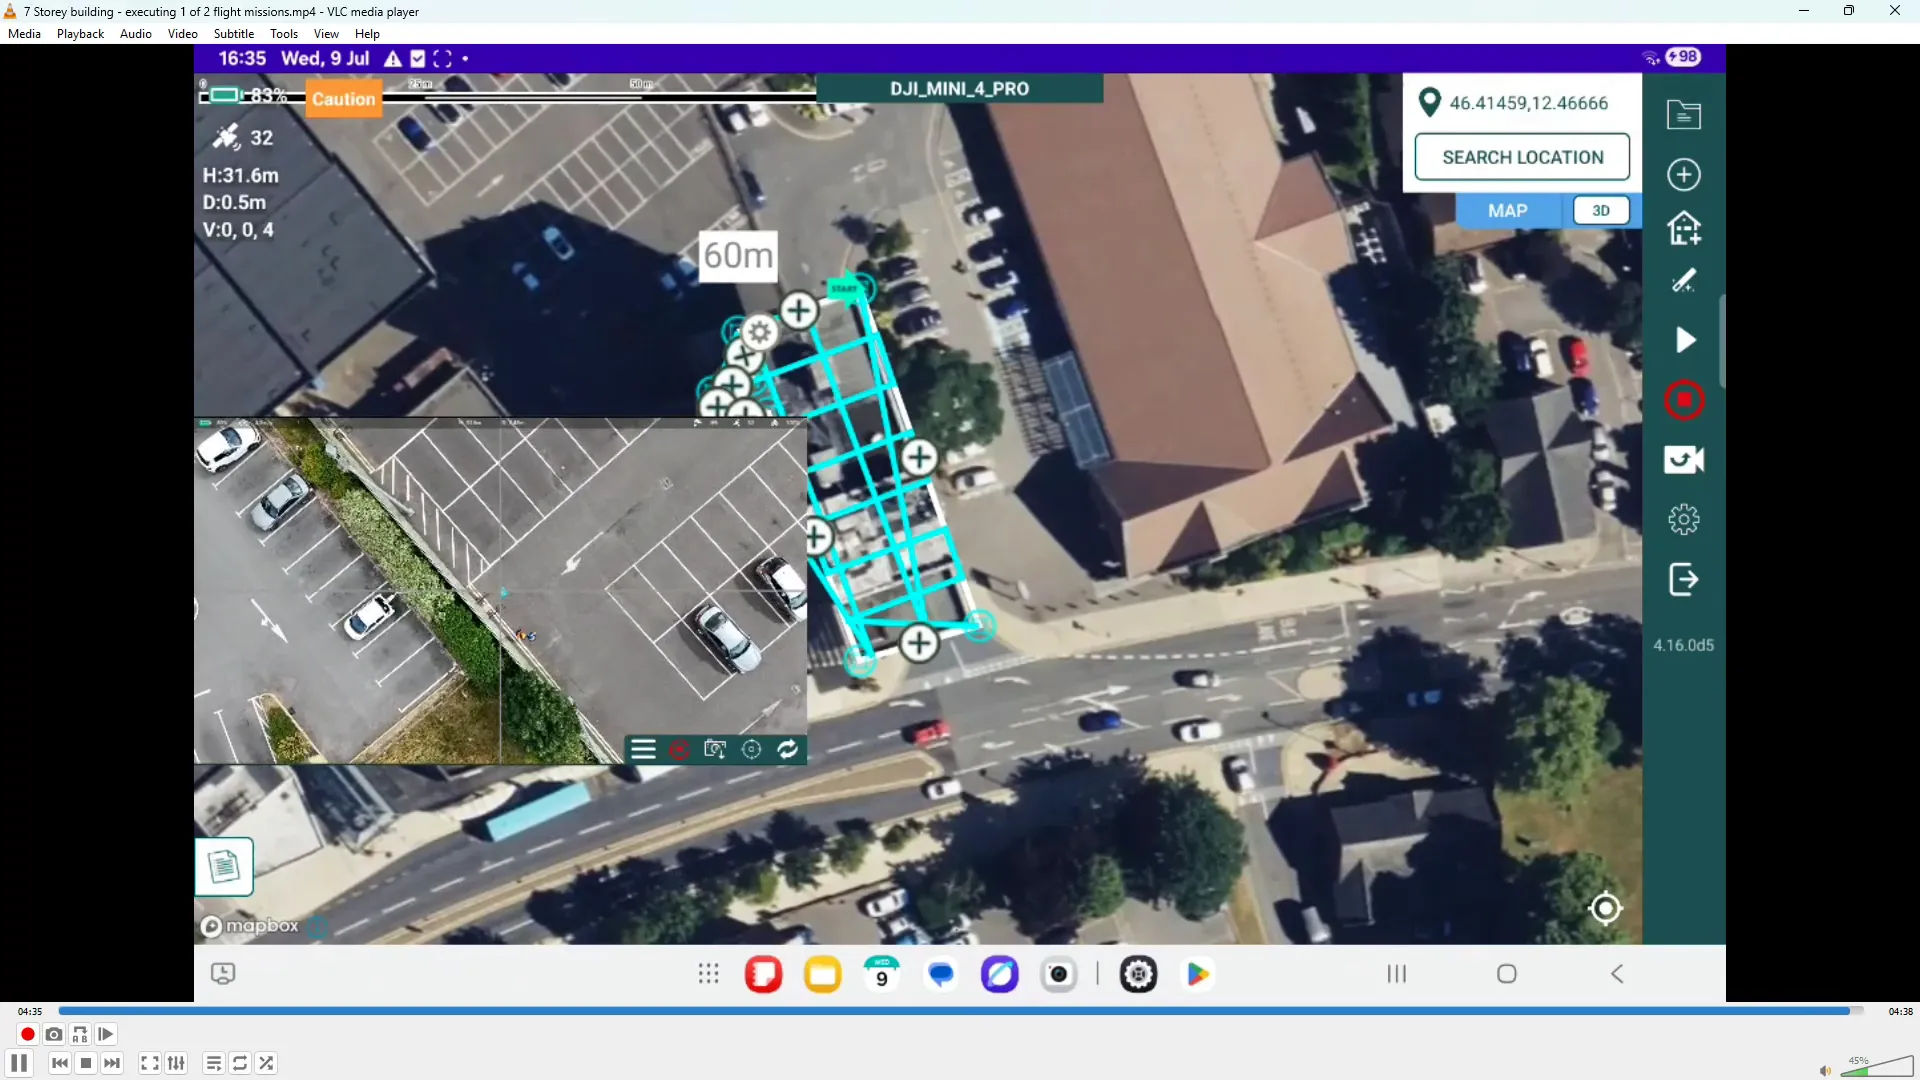
Once the checks are complete (all items green status), ensure that the flight area is safe and press the Fly button to launch the drone. The mission uploads to the drone and the aircraft will automatically take off and climb to the mission altitude you set. If at any time you need to pause or abort the mission, you can use the pause button on your RC device or use the Red Circle with a square Red dot inside on the Hammer App.
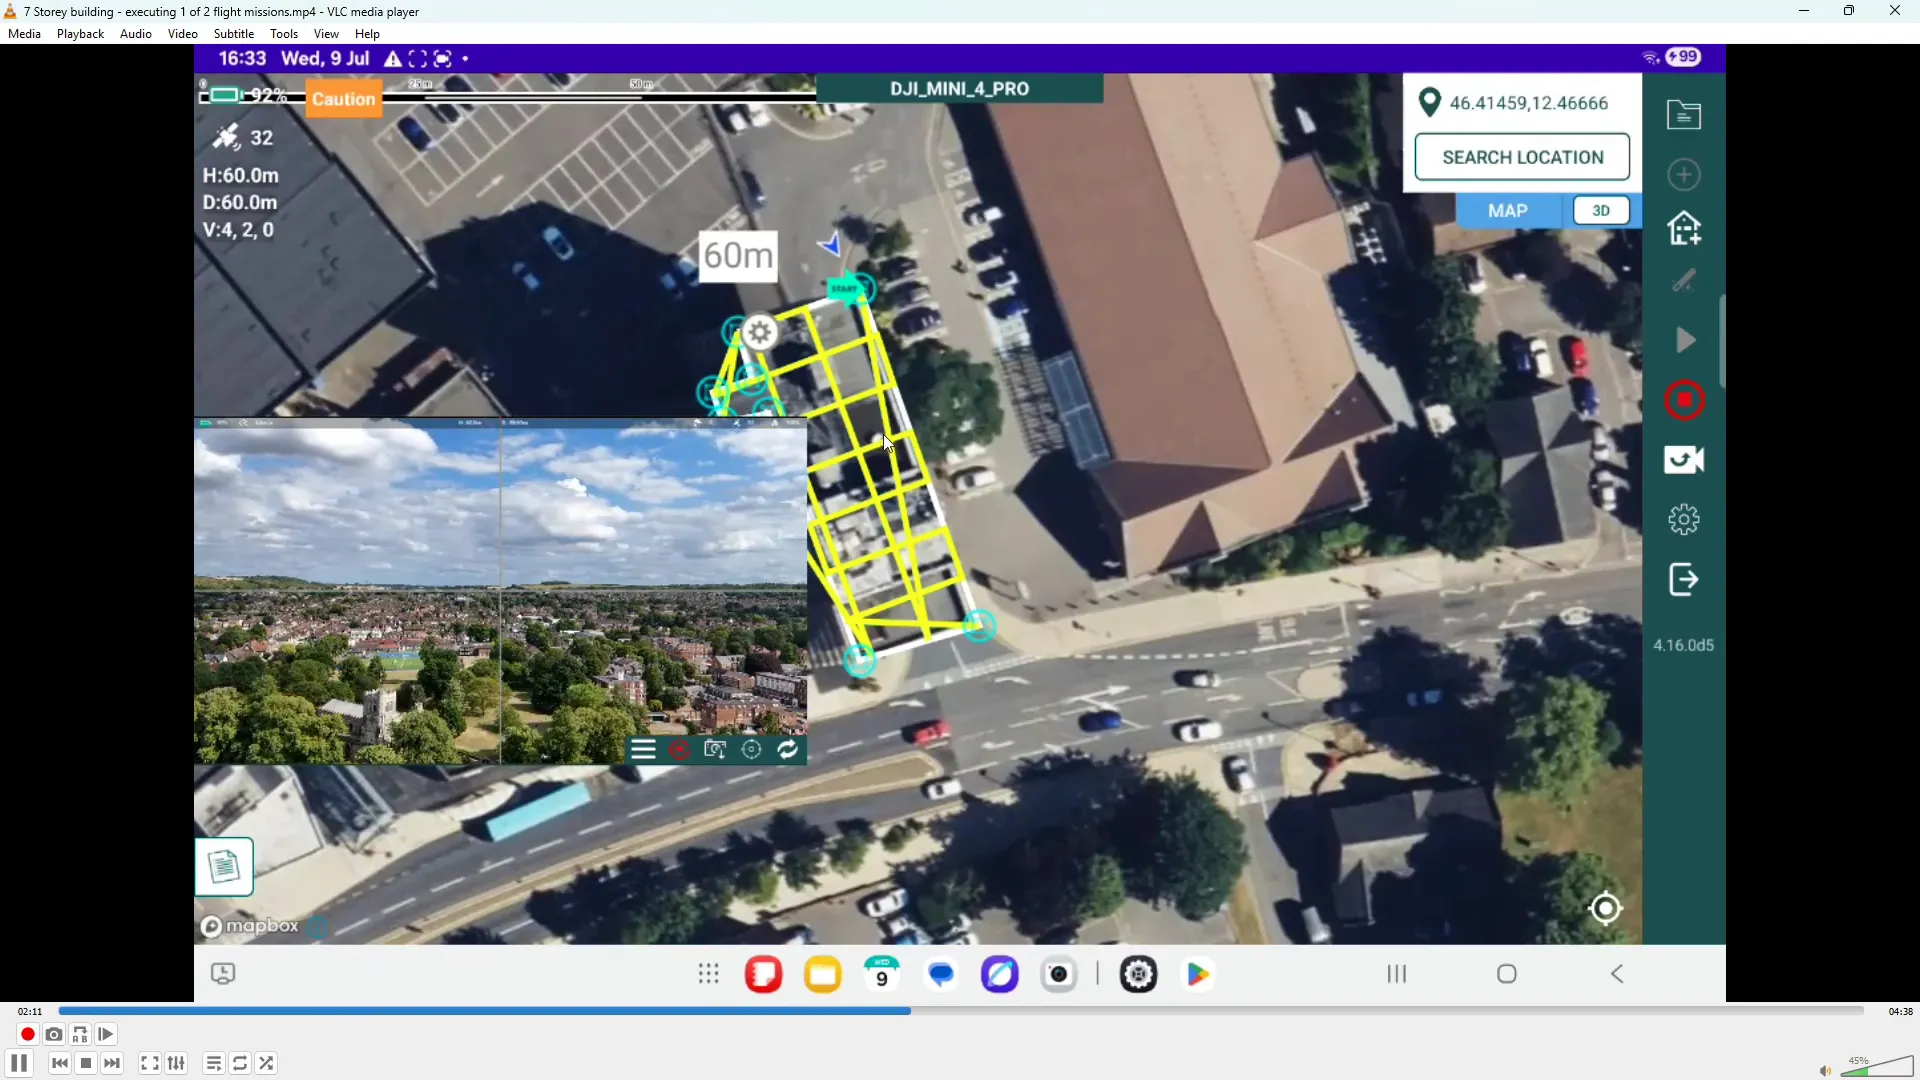
When the drone reaches its mission height, it will transition to the start of the mapping grid. The app displays the planned flight path:
You’re never locked out once the mission is running — use the controls on the remote or the app to intervene:
When the mission completes, the drone will automatically return to the original take-off point and descend. For safety reasons, as it reaches the last few feet above the landing point, the drone will pause (in a hover) and you should manually confirm the landing area is clear, then apply "throttle down" input, to finalise the landing sequence.
Executing a flight mission with the Hammer Missions platform is very straightforward. Just follow our workflow, verify flight mission parameters and settings, run pre-flight checks, upload the mission, monitor the flight and camera, use pause/resume or RTH if required. With these steps in mind, you can capture reliable, complete datasets for roof inspections and mapping.
If you found this walkthrough useful, try it yourself on your next site visit and build familiarity with the controls and user interface, that confidence helps makes every mission smoother.