In this guide we will walk you through the process to convert your set of drone-captured images into a 2D map and/or a 3D model. The article below explains each step, including some useful tips, and shows you the key screens that you will encounter during the process.
If you prefer to watch a video on this topic use the link immediately below, otherwise skip over it to the Blog article
https://www.loom.com/share/b30f6e8f0bd6456990e6323747fc5d98?sid=853a6987-2283-4545-b4d9-98630f0399ed
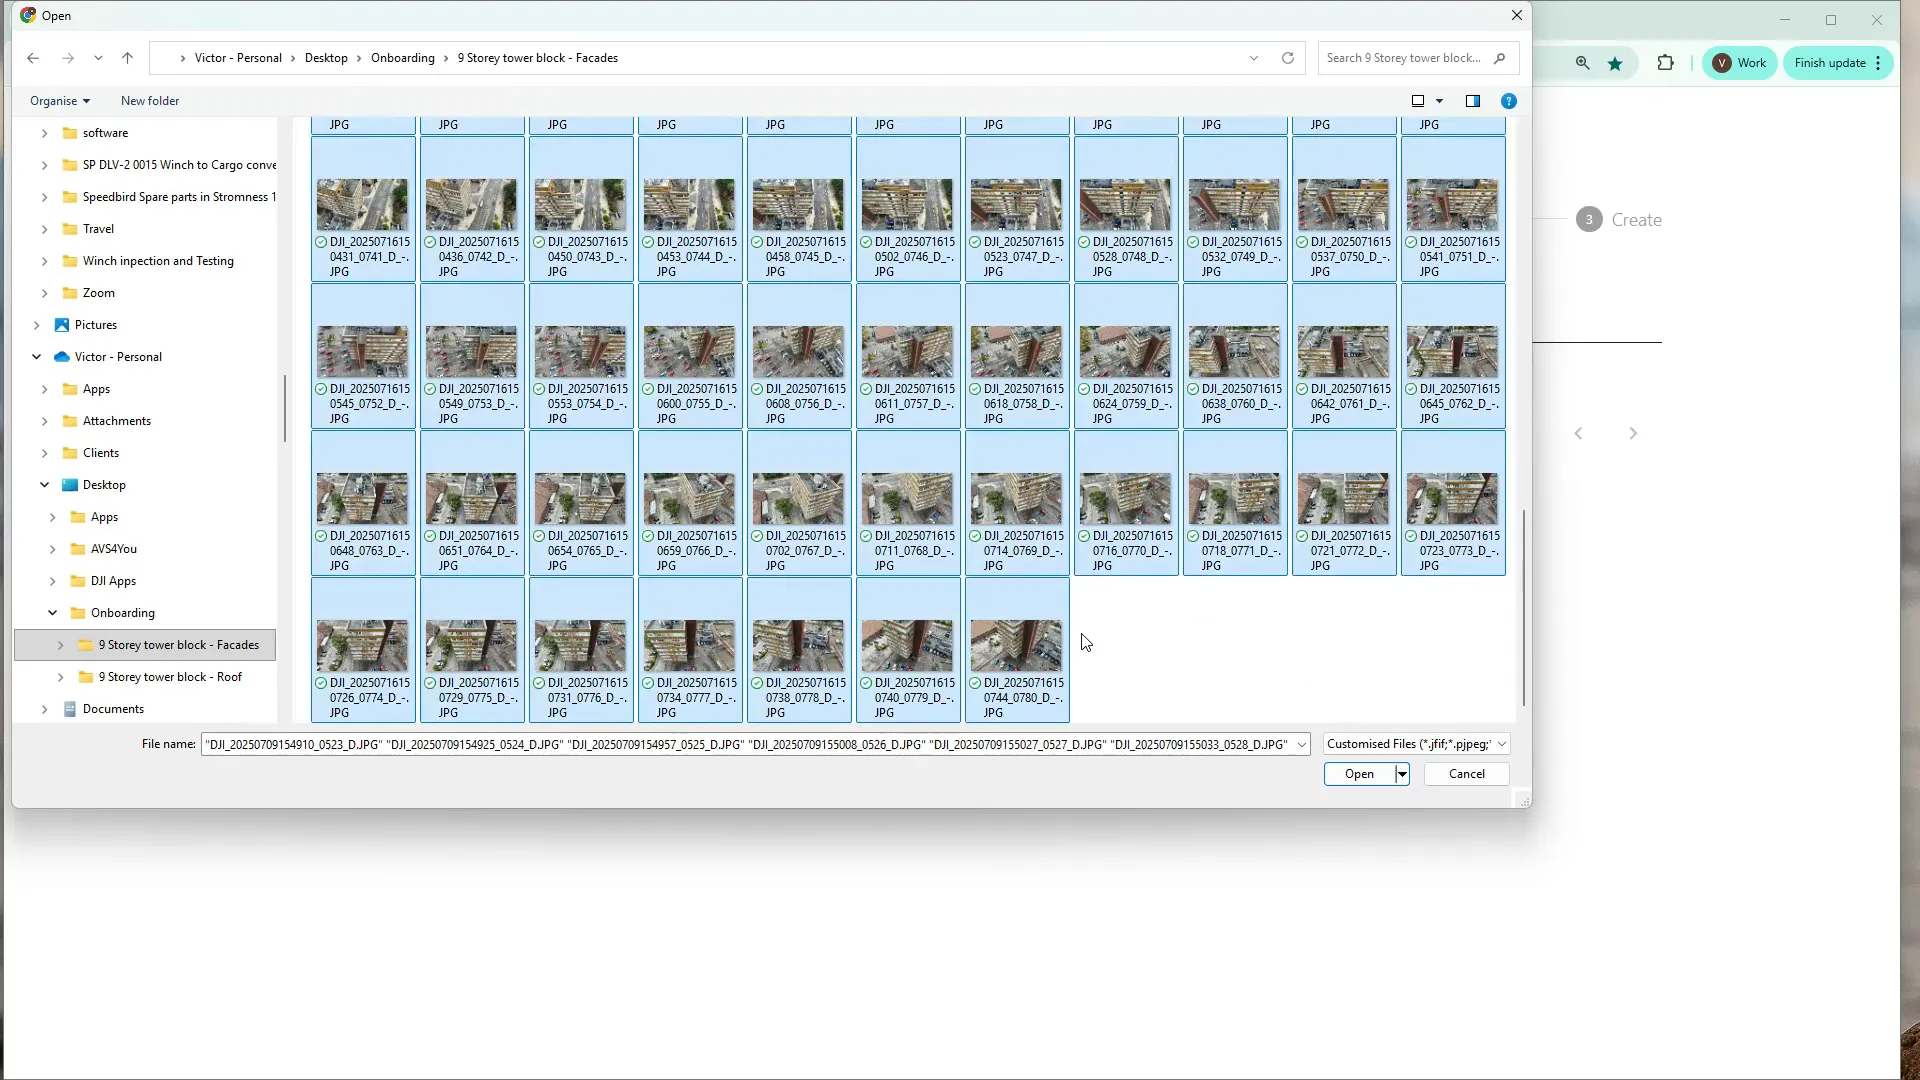
Start by copying the pictures from your drone SD card onto your desktop or a working folder. Organise images into logical folders (for example: facades, roof) so you can upload them selectively if needed.
Access Hammer Hub and open the Data Analysis section, navigating to the folder where you want to create the new project. Click Upload data and supply a few basic details:
"Be aware that the time to upload your images will depend on the number and size of your images, as well as your internet link speed."
The upload dialog gives you two options: drag files into the area, or browse to the folders and select them. I typically:
The uploader will display the total number of files and the total upload size before you create the project.
Uploads can take a few minutes depending on file size, number of files and your internet connectivity. You’ll see a progress indicator — providing you with visual view of how much further the upload process has to go.

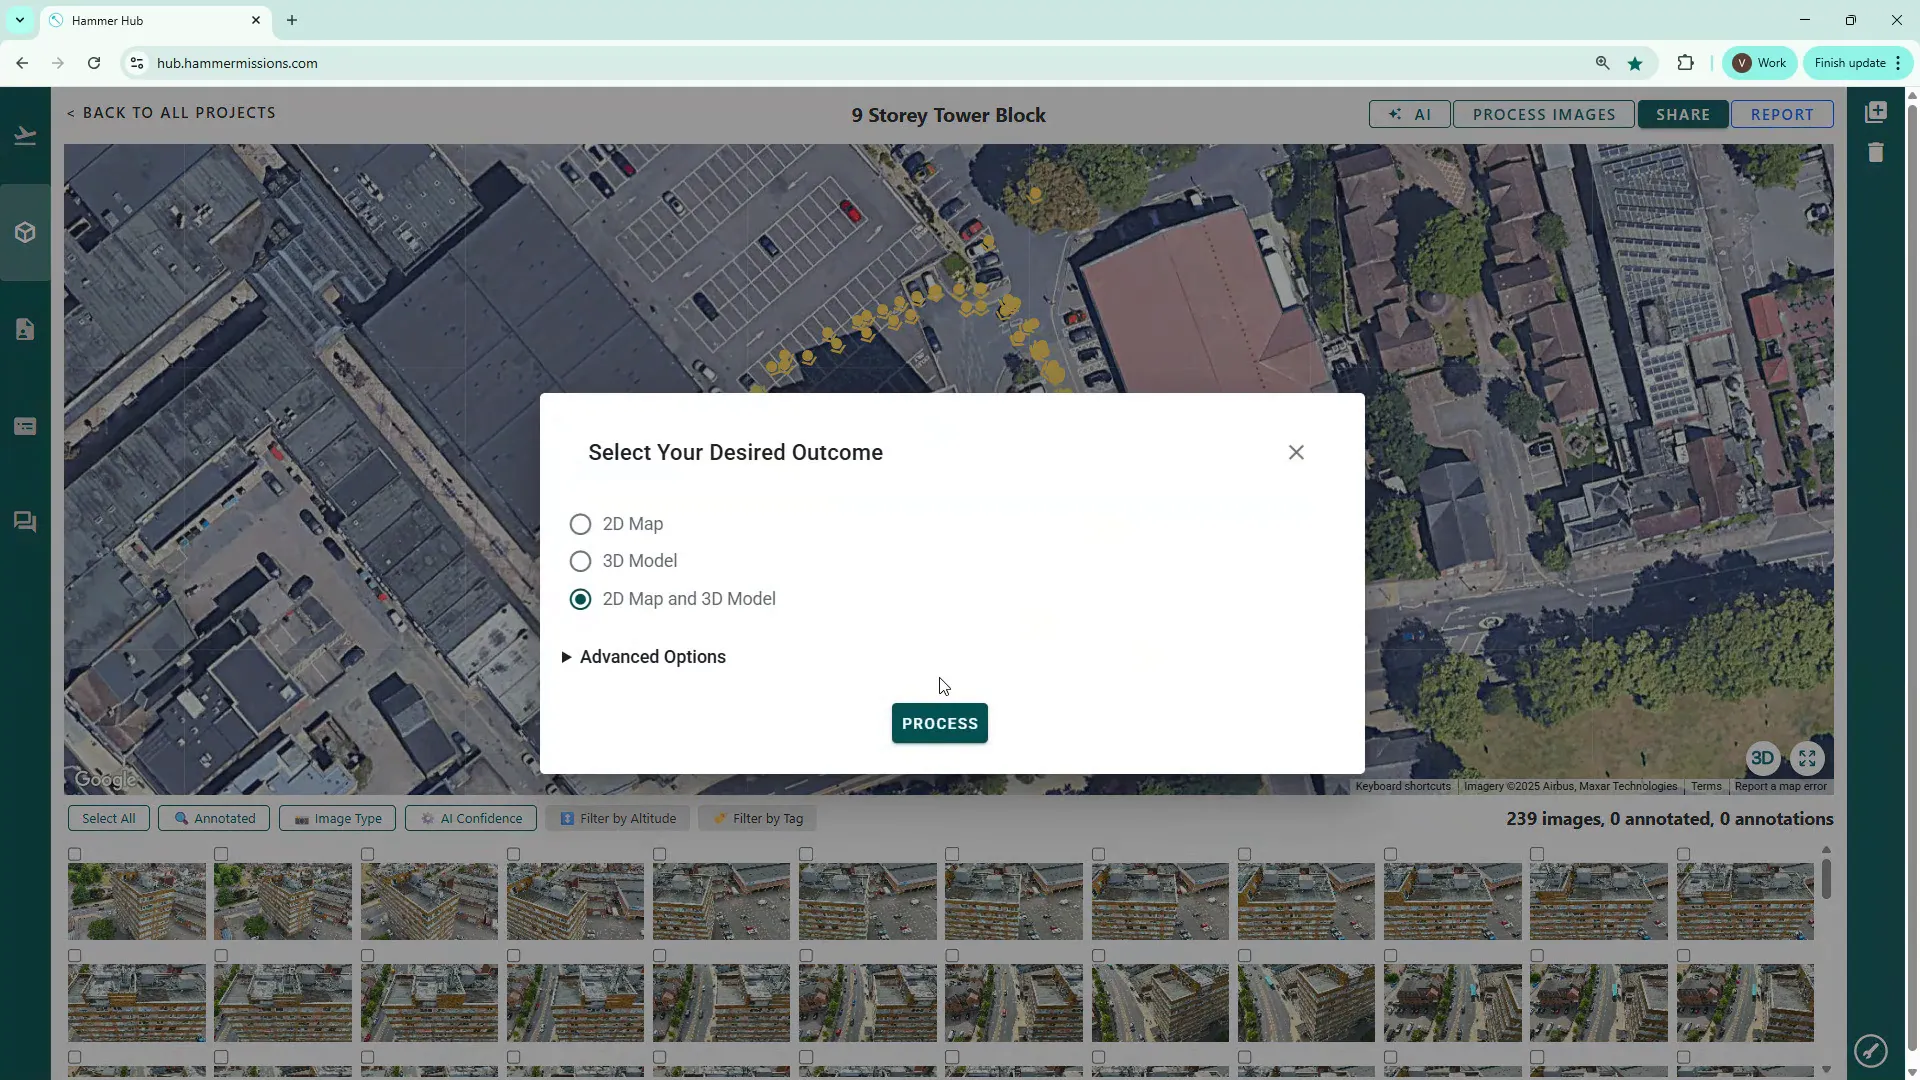
Once the upload finishes, the platform will show thumbnails of the uploaded images and the capture points on a map so you can quickly verify coverage.
With your images successfully uploaded, click Process images (top right of screen), select from the available options, in our case we selected "2D and 3D model" and then hit Process. This submits a job to Hammer's cloud based servers that will stitch the images into a 2D orthomosaic and reconstruct a 3D model.
"Creation of the 2D map and/or 3D model may take several hours or even >day, in the case of large models with 1000s of images to process."
After the job is submitted you’ll receive an email confirming that processing has started. Later — often within a couple of hours for medium-sized projects — you’ll get another email when the model is ready to view and download.
"What you'll receive is an email telling you that that process has started, and you'll also get another email a bit later, probably a couple of hours in this case, if the it's actually created the model."
Converting drone imagery into a 2D map and 3D model is a relatively simple workflow: transfer your files, create a project, upload images, and submit a processing job. Wait for the notification email that the task is complete.