Workflows, Best Practice guidance, Tips and Tricks to extract the best from Hammer Missions
This guide explains how to use functionality within the Hammer Missions platform to generate an AI model that can be used to help identify and label deficiencies. Follow these steps to teach the model what a particular deficiency looks like on your project images and then build a model that can scan the rest of the dataset for matching issues.
"You will learn how the Hammer Missions platform can make you more efficient by automatically identifying deficiencies that you have defined within your project..."
If you prefer to watch a video on this topic use the link immediately below, otherwise skip over it to the Blog article
https://www.loom.com/share/b45c00bf97d14bbfa3d78b6d8ad4b794?sid=fe366df6-c85e-44ef-9c49-4be71ca4653e
The process has three clear phases:
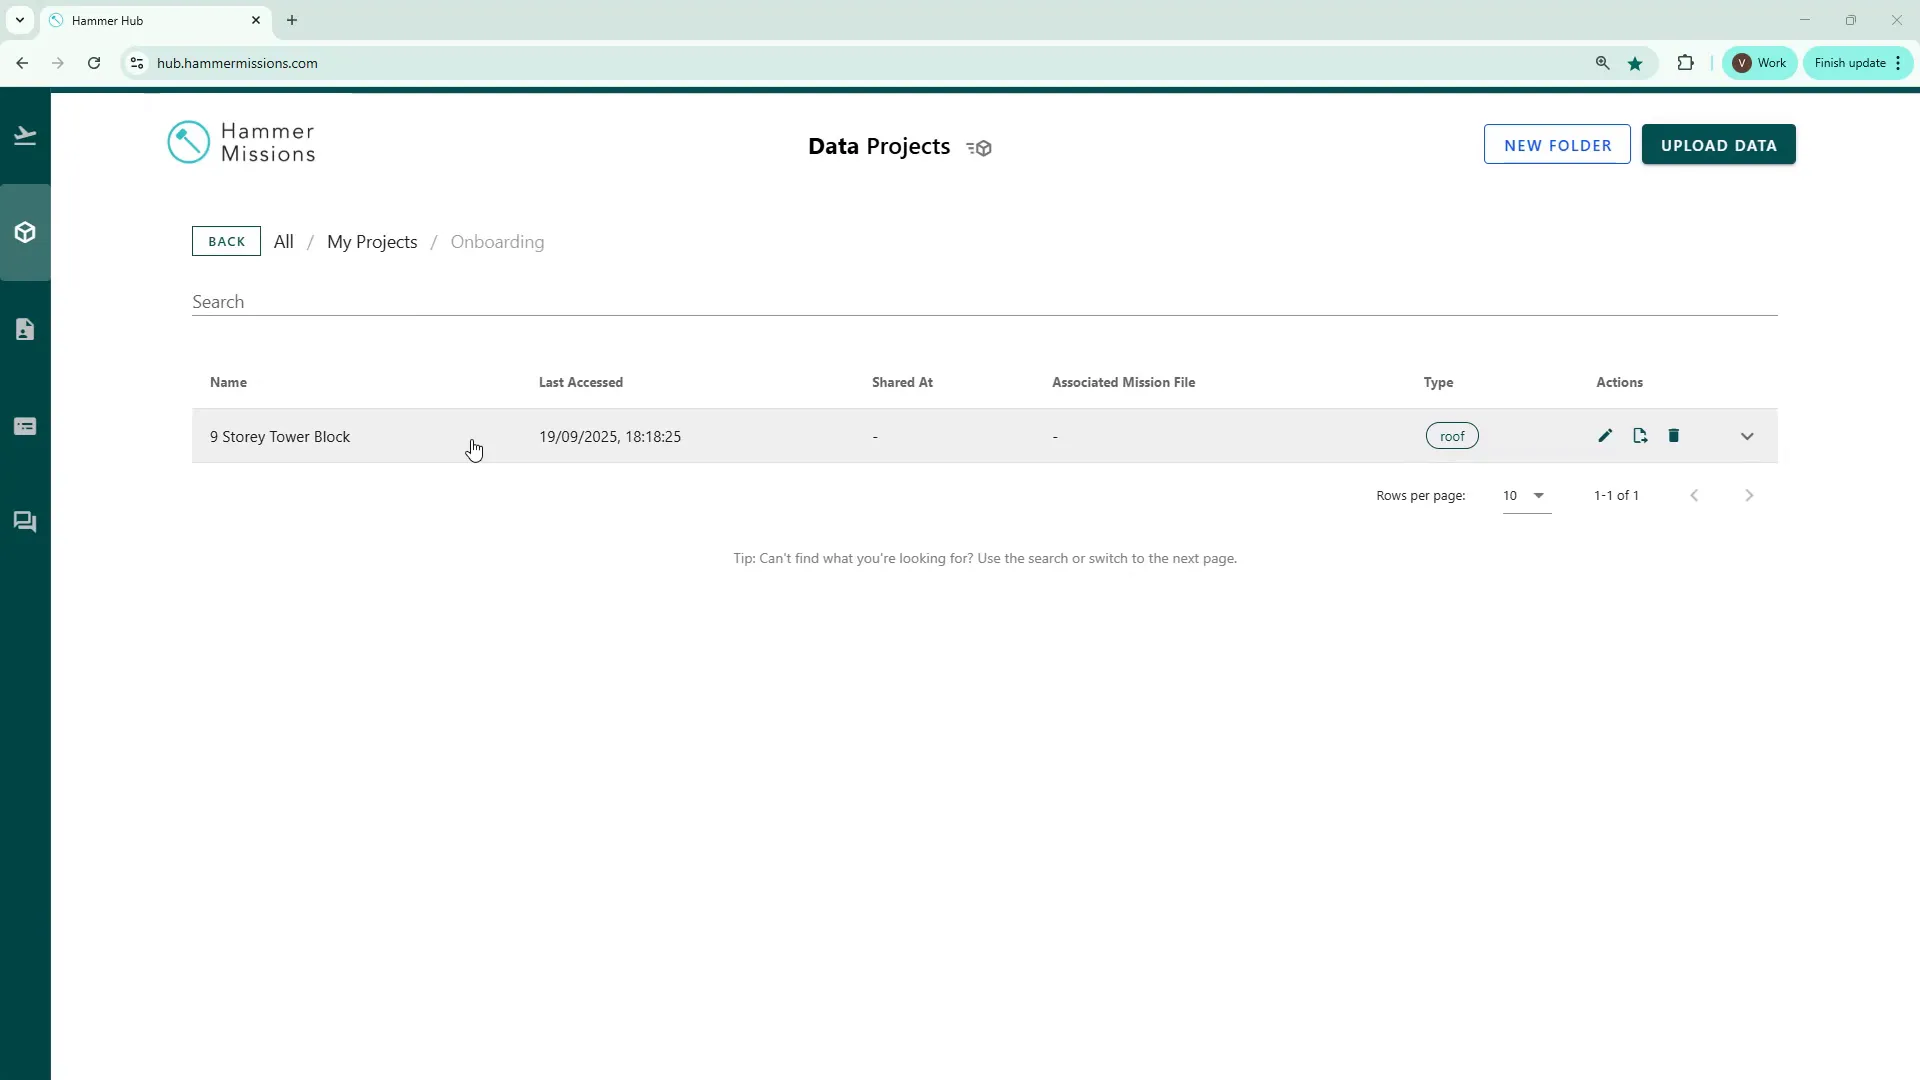
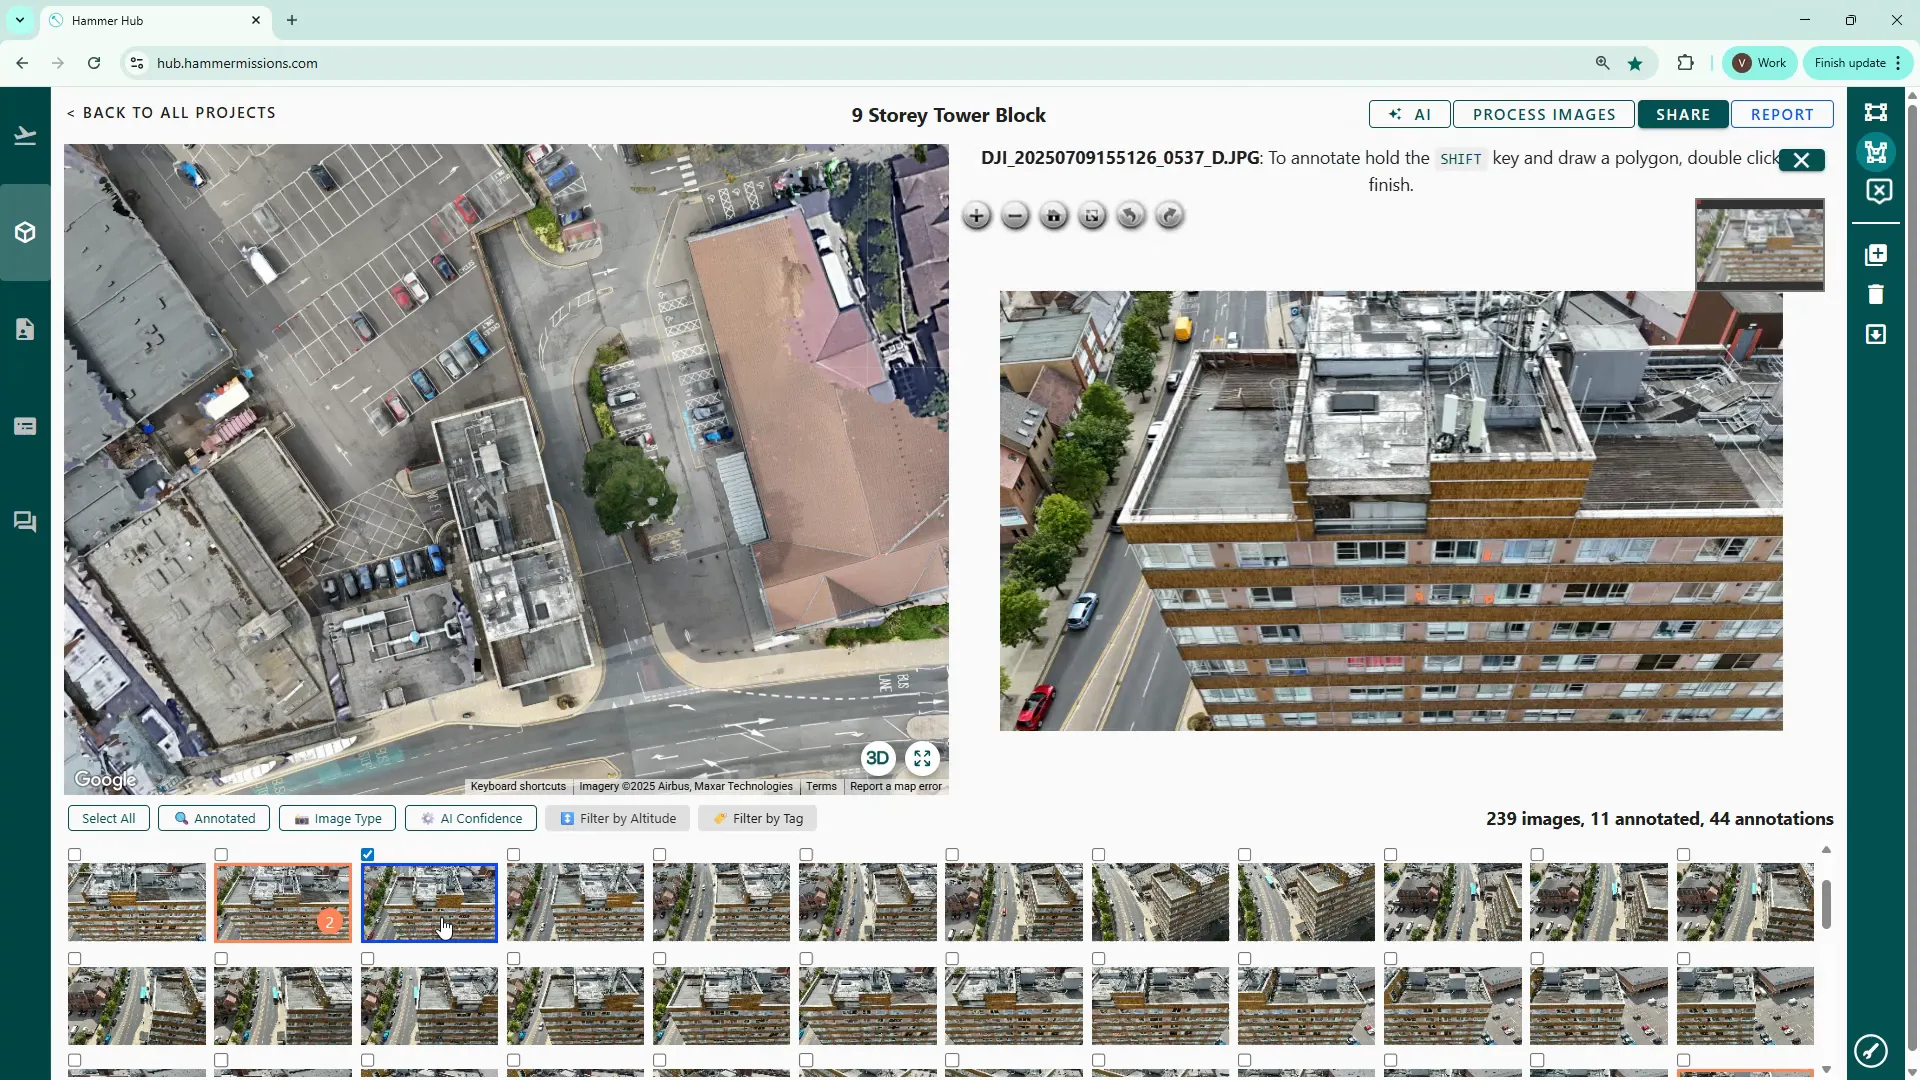
Begin from the Data Analysis section and open the project you want to work on. Even if the 3D model is still being processed, you can open the project and start annotating the image set immediately.
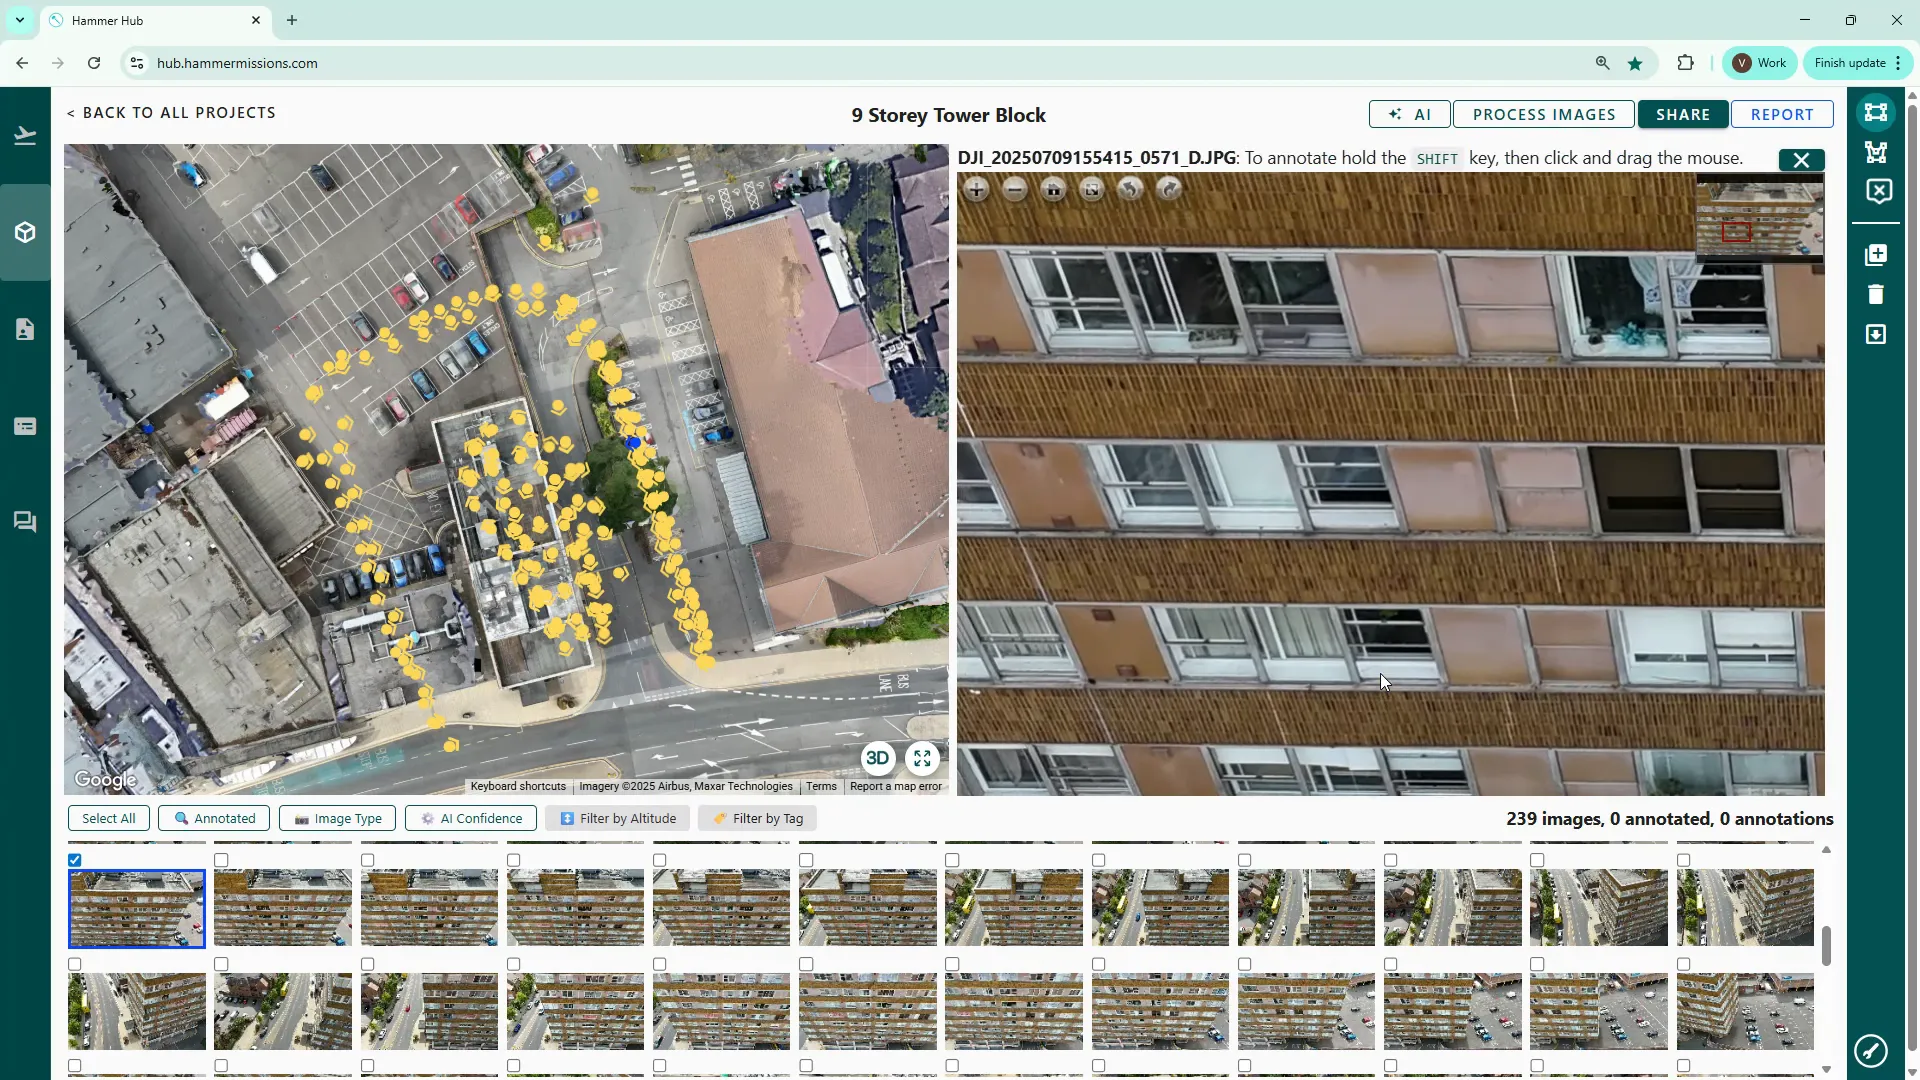
Scroll to the façade or area you want to examine and zoom in to spot issues. In this example, we focused on paint deterioration — cracks and flaking — so we searched the façade images for visible paint cracks.
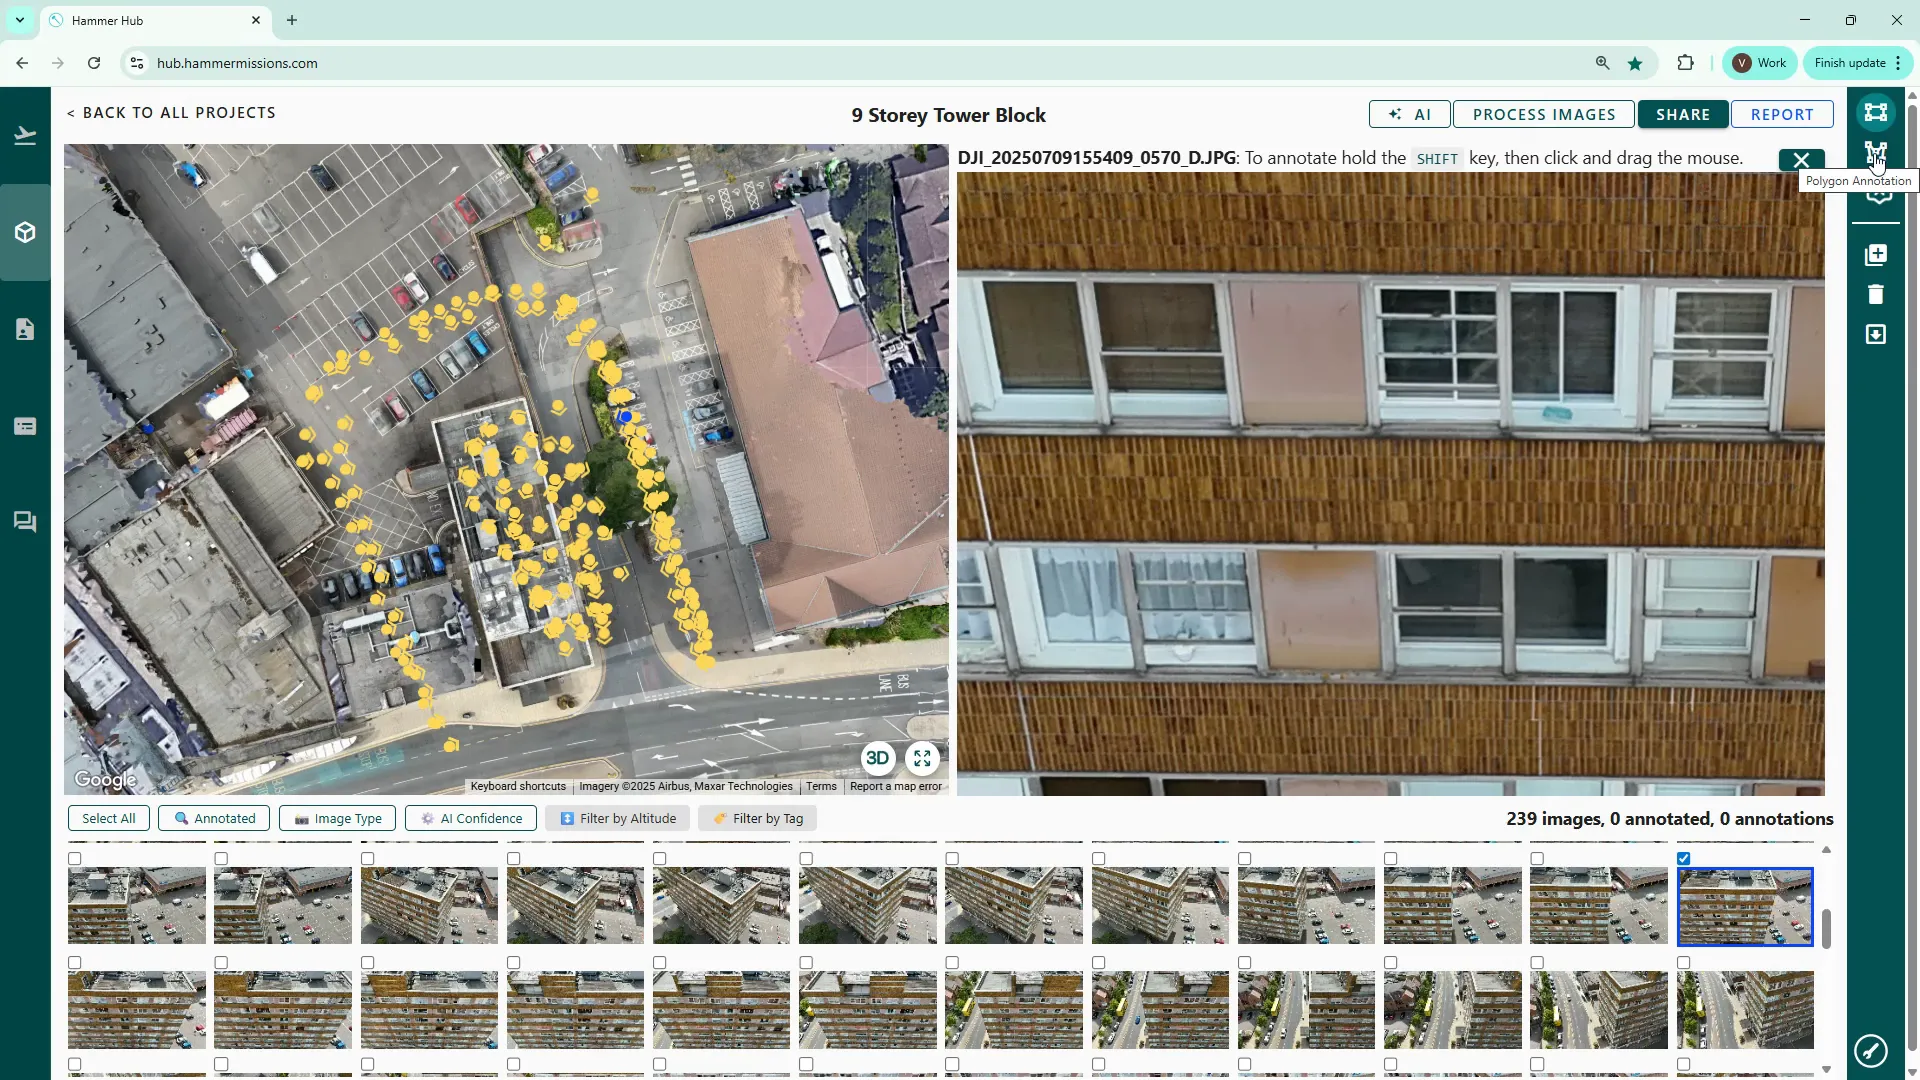
The platform provides two primary annotation tools:
You may find it easier to start with the polygon tool when labelling irregular shaped items like paint cracking because it allows you to follow the outline more closely.

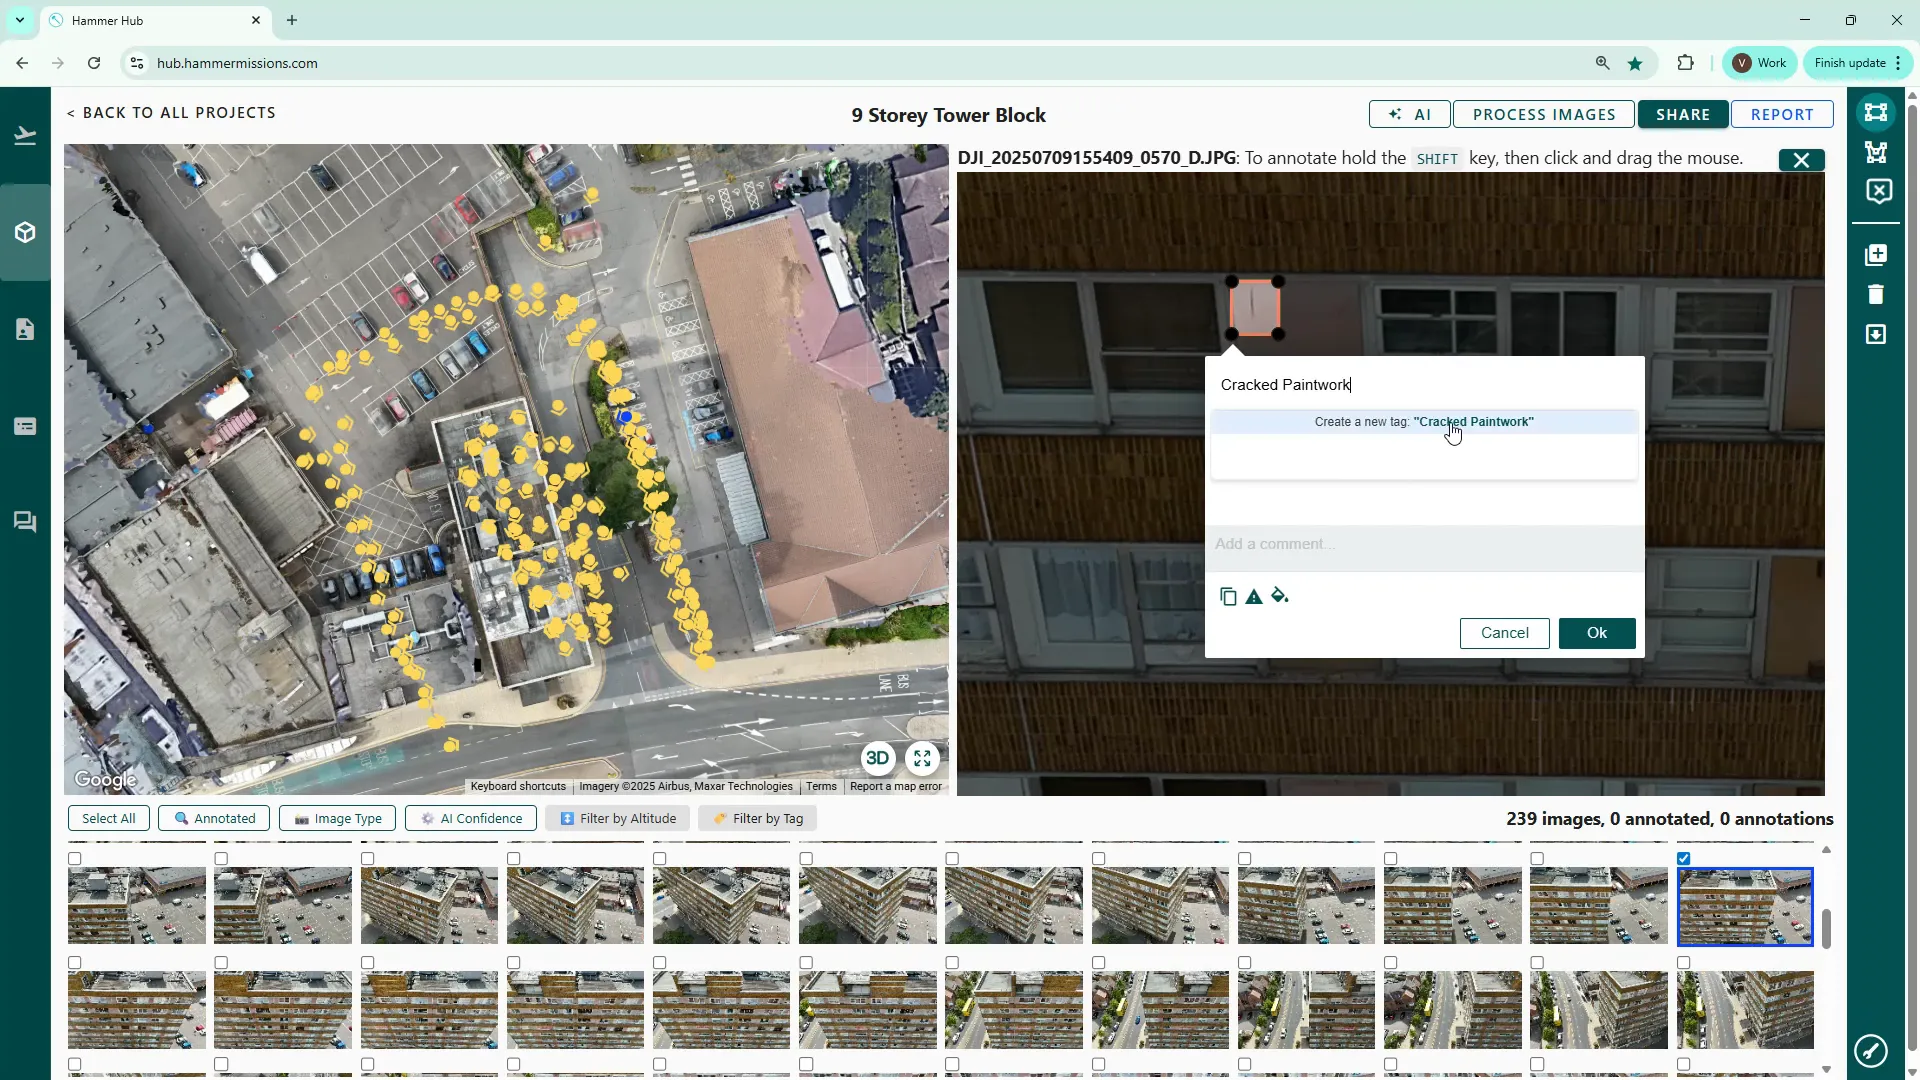
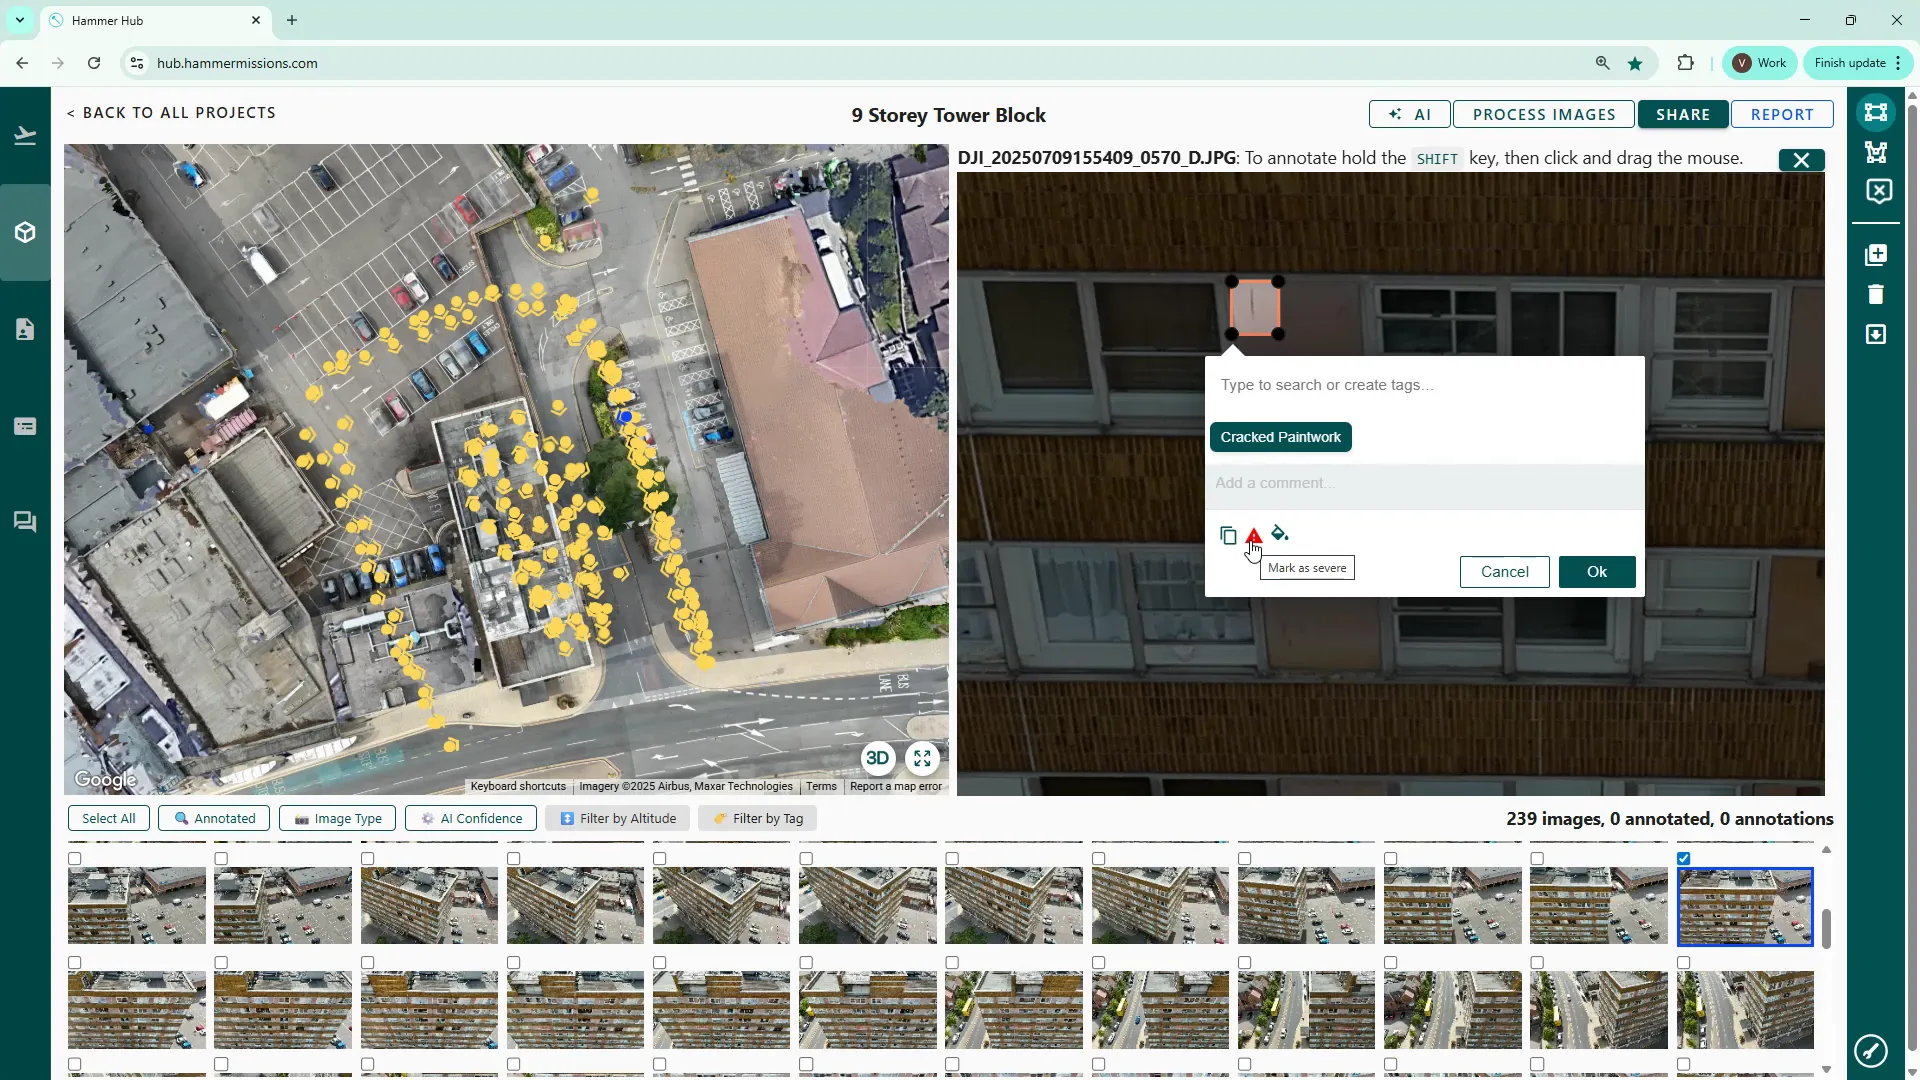
When you complete an annotation you can either pick an existing label (if it’s been used before) or type a new one. For this walkthrough we created the label "cracked paintwork".
You can also mark an annotation as severe. Severe annotations are highlighted with a red border both around the defect and on the image thumbnail. If a defect merits immediate action, mark it severe; otherwise keep it standard.
To teach the AI what the deficiency looks like in different conditions, annotate multiple images showing the same defect in varied lighting, angles and contexts. Aim for around 10–12 examples of the defect to provide the model with sufficient variation.
<aside> 💡
If your chosen image shows multiple instances of the deficiency, it’s really important that you mark all instances of the deficiency in that image.
</aside>
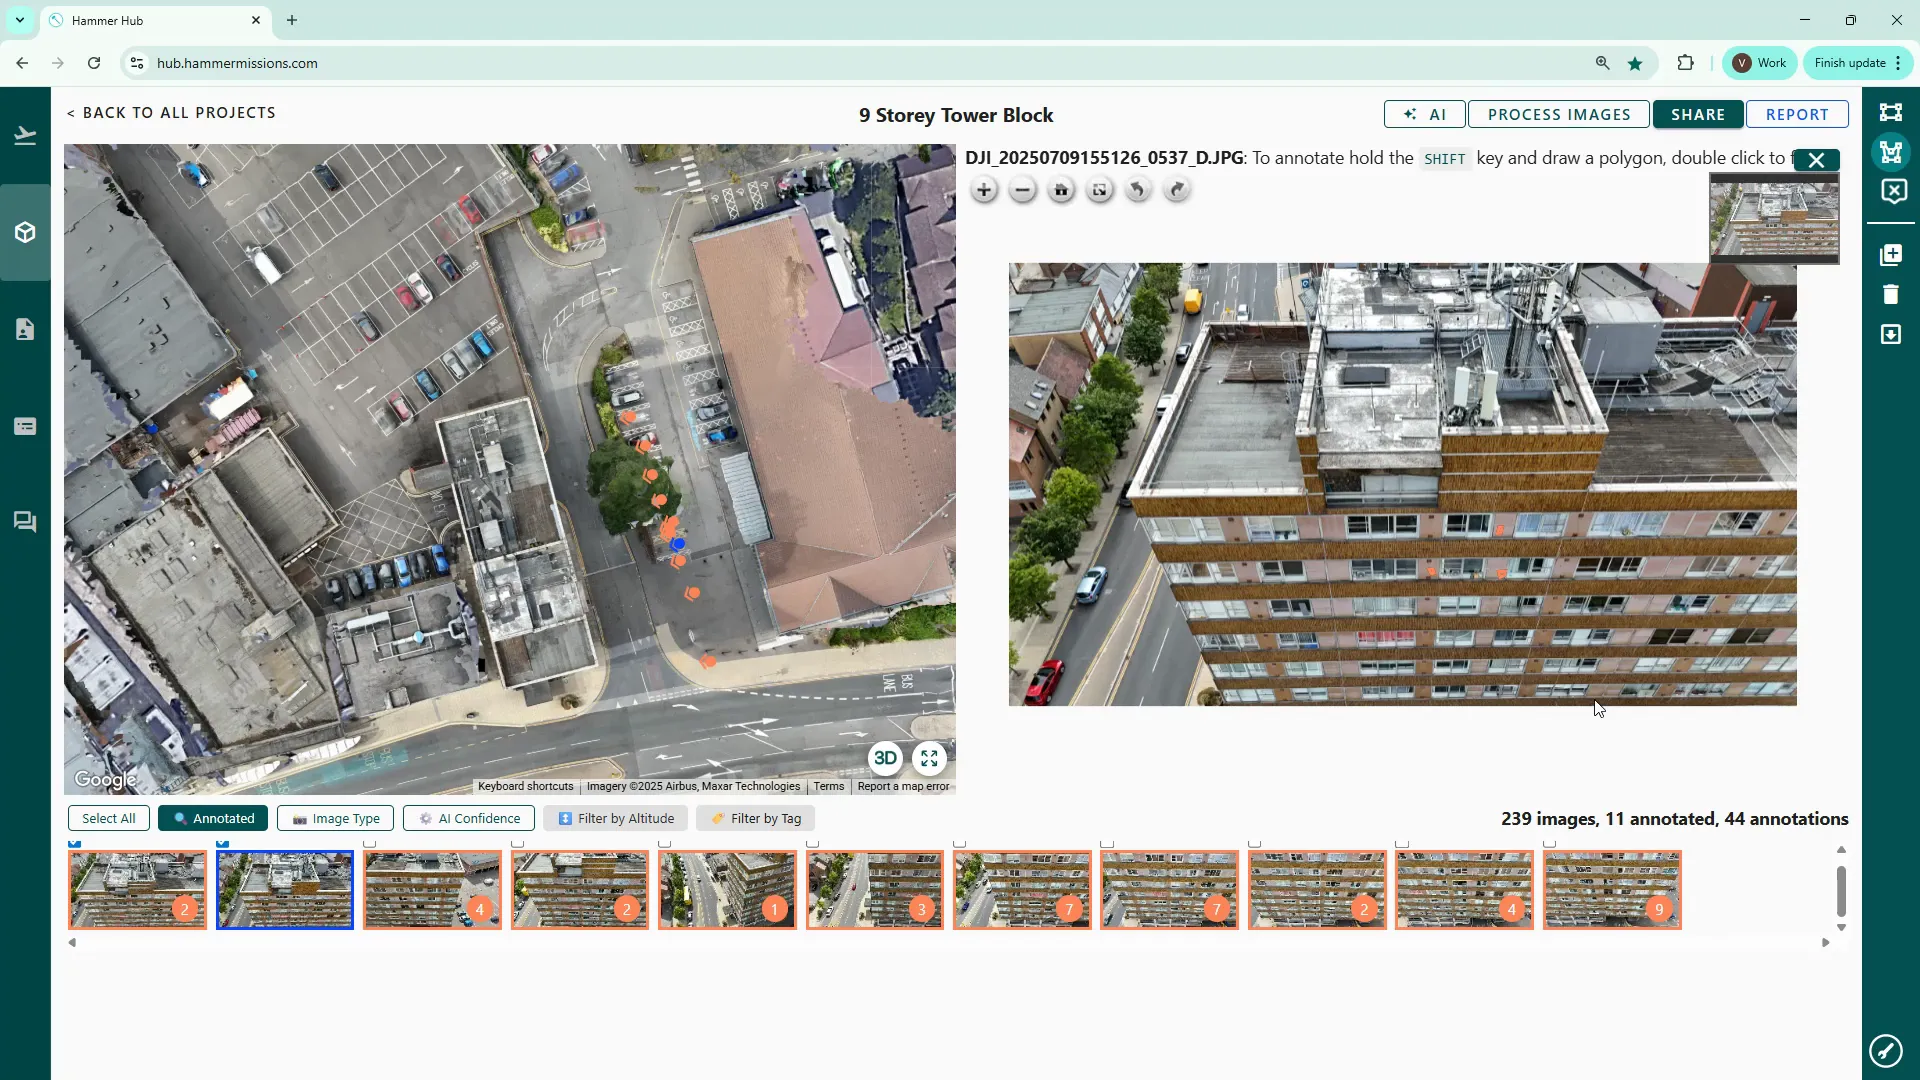
In our example we annotated eleven images showing cracked paintwork across different façade shots.
Tip: You can filter thumbnails to show only images that already have annotations. This helps you track progress and confirm you have the required number of labelled examples.
Once you have a representative set of annotated images, use the AI button to search for tags and select the defect label(s) you want to include in the training set. The platform will indicate whether you have annotated enough images (green = ready to build, red = needs more annotated images).
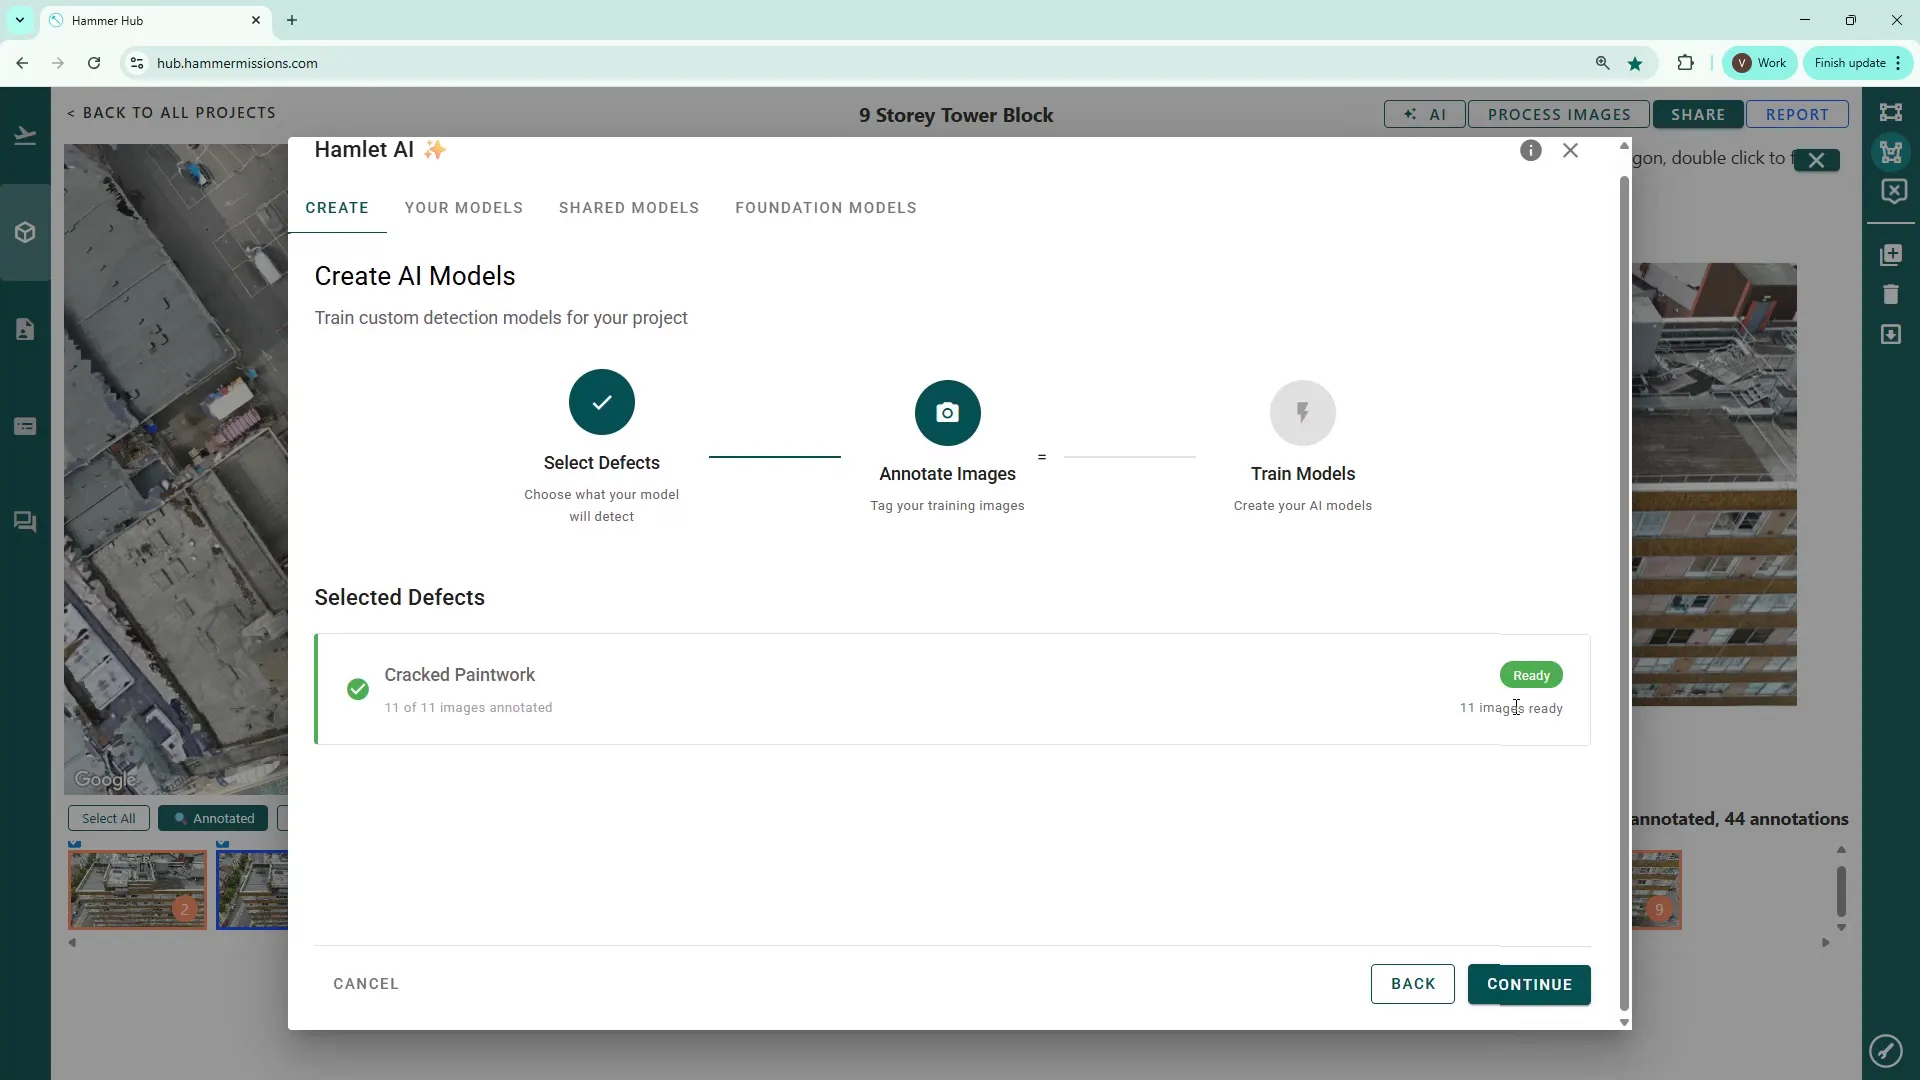
Give the model a name (accept the default or rename it) and a description will be generated automatically. Then start the build process to generate the AI model and train the detection algorithm.
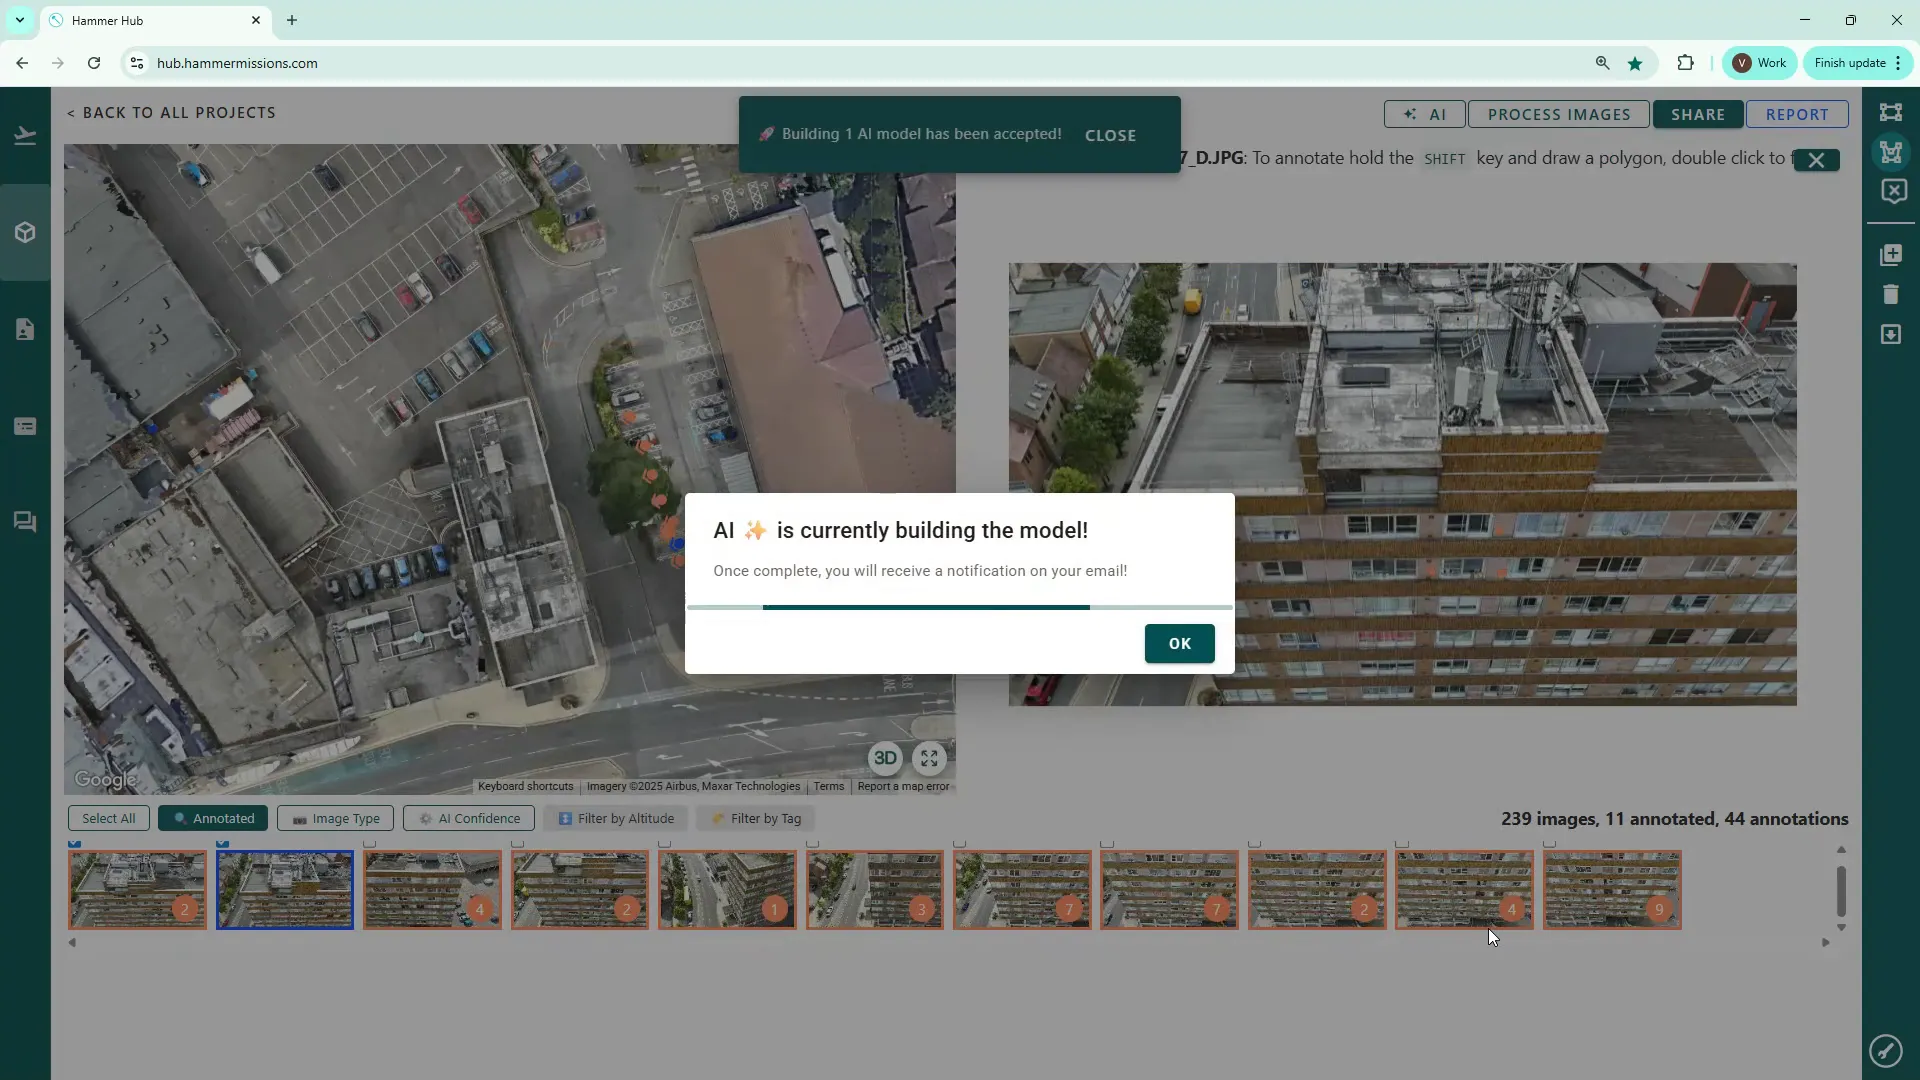
The Hammer platform will process the task to generate the AI model. You will receive email confirmations when the process starts and when it finishes. After the model is built you can use it to scan the full image dataset and identify matching deficiencies automatically.
After the model completes, use it to analyse the complete image dataset and identify any additional occurrences of the specific deficiency. In another walkthrough we will show how to run the model across the project and review the AI identified matches.
Annotating thoughtfully — using the polygon tool for irregular defects, marking severity where appropriate, and providing diverse examples — maximises model accuracy. Small, consistent labelling efforts up front will save substantial time when the trained AI model starts to scan your images.